

I asked a selection of awesome travel photographers who I know from Instagram to give some of their top tips for capturing amazing photographs. Keep reading below for their tips and to see some of their beautiful pictures. Click on their name to visit their Instagram account and see more of their work.
The tips are sorted into city, travel and landscape and you can use the menu below to jump to each section if you prefer.
You may also like my post on Top Editing Tips from Awesome Instagram Photographers where you will get some editing tips.
| Menu |
| City Photography Travel Photography Landscape Photography |
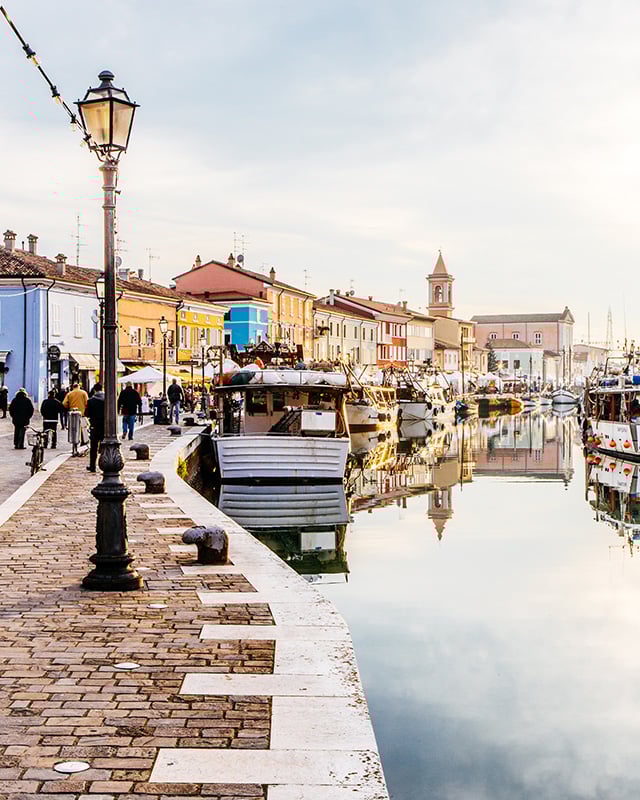
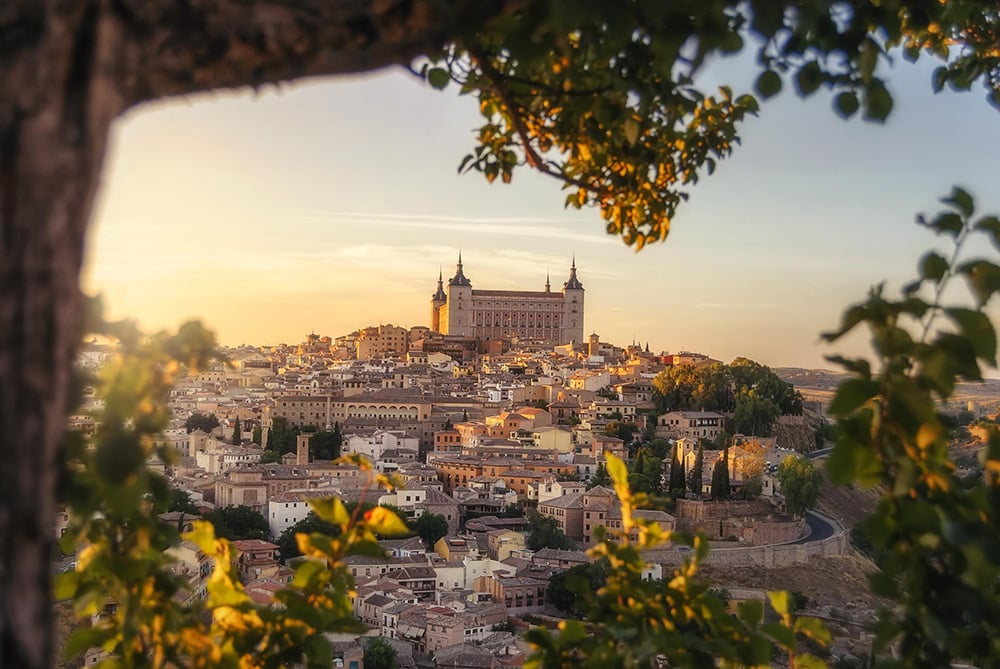
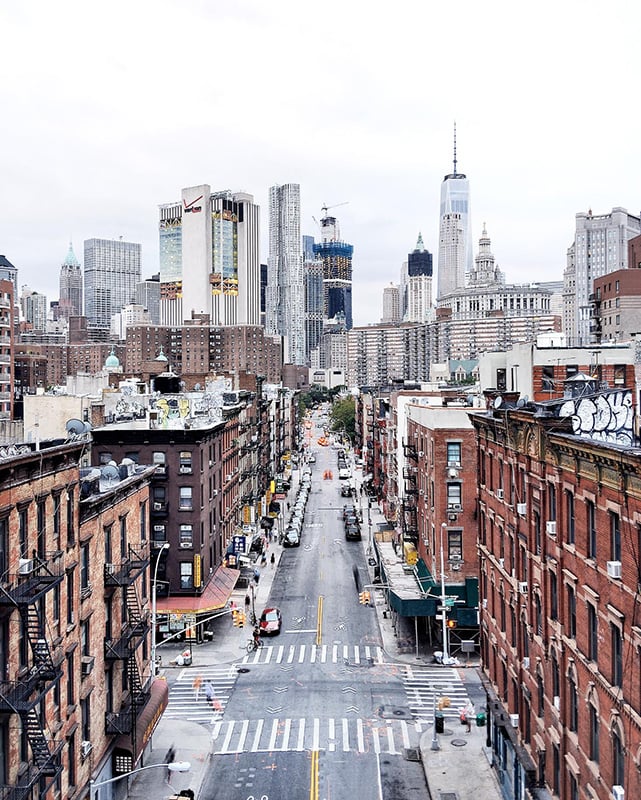
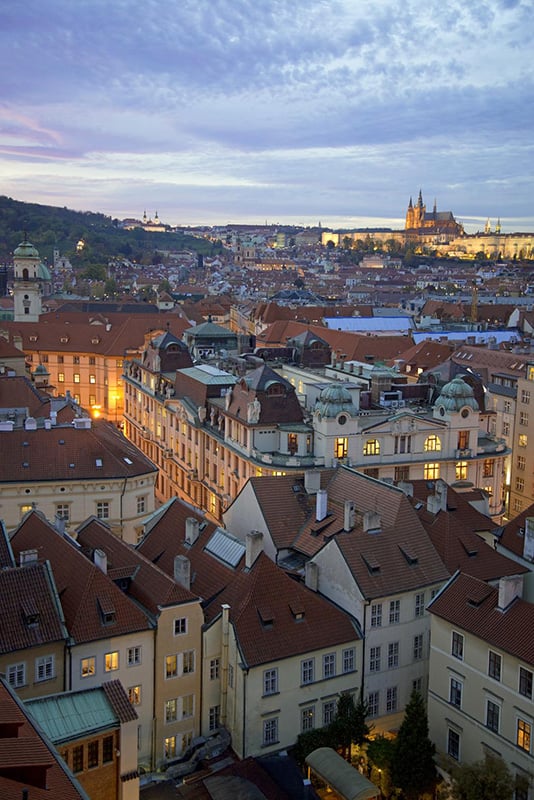
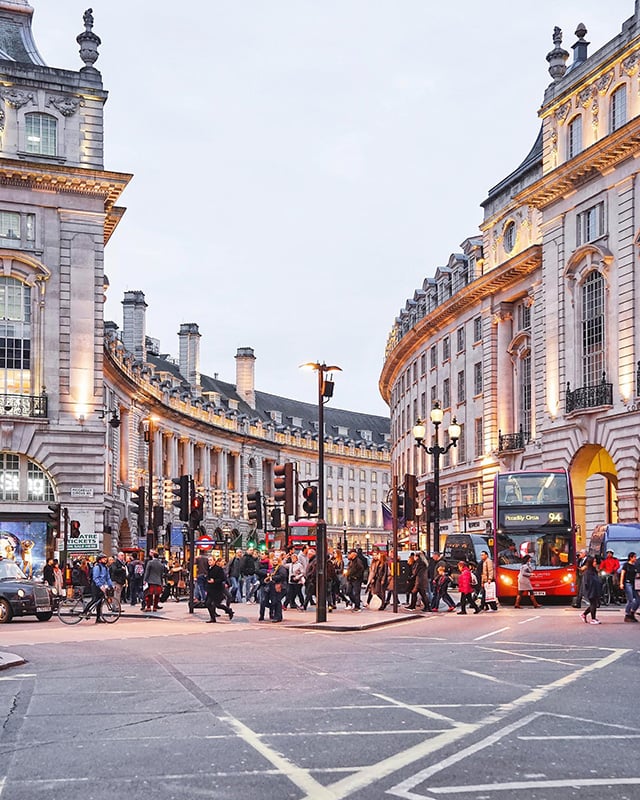
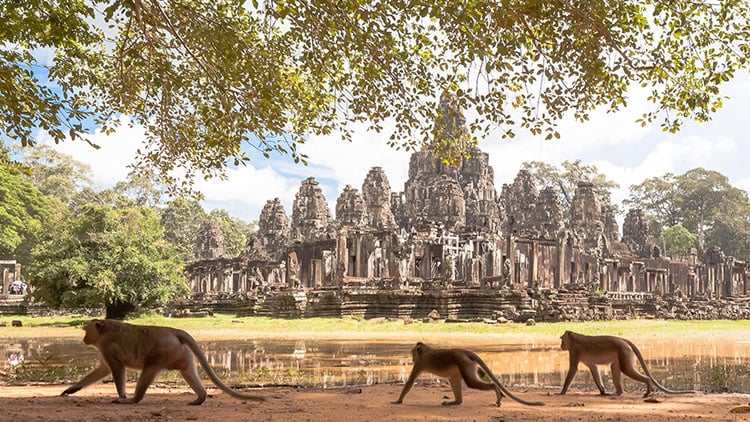
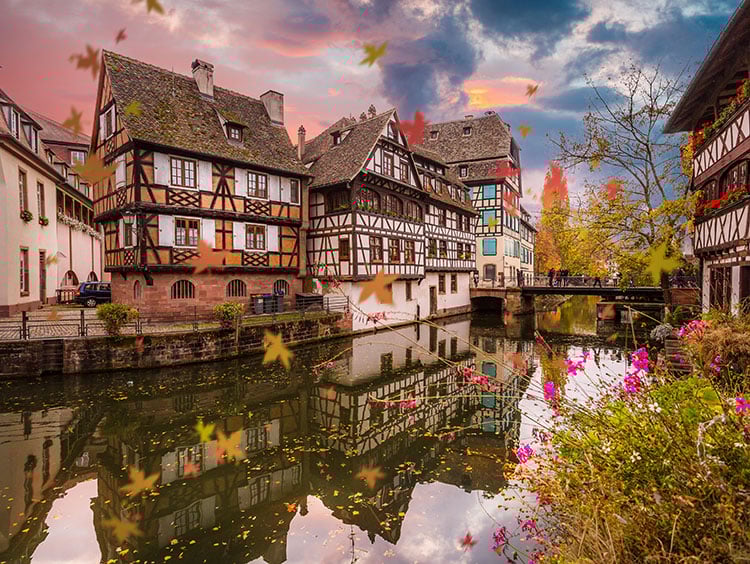
City Photography
In this first section I have asked a selection of photographers that take fantastic photographs of cities, that really show the best of a city and often make you want to visit.
@thererumnatura says:
“When I take a picture of a city, I pay particular attention to two aspects: the light and the composition. To me, the best light is the soft warm light of the sunset. In terms of the composition, I try to play with perspectives and respect some simple rules such as the “rule of thirds”
@manuelo_bo says:
“1. Explore the city before travel. Internet and Social Networks provide us with a bunch of ways to obtain information about the city (maps, photos, weather…). There´s nothing worse than leaving a city and notice you lost a beautiful spot.
2. Take your time to enjoy the place. Only after that, take your camera out and start to shoot. Carry just only the necessary equipment. Extra weight could be killer at the end of the day. A mirrorless camera can be a huge help.
3. Take advantage of the weather conditions. Study where and when the sun comes up and sets. Remember, a day with clouds is infinitely better than a blue sky. There are apps that show you how to know that (Photopills or Photographer´s Ephemeris). In rainy days, puddles are a great option to photograph reflections.
4. Yes, it could be hard to wake up early in the morning, but it is well worth it, believe me. You can take your pictures without hundreds of tourists around you. The use of long exposure filters can be a good option if you are a great over sleeper.
5. Do not stop looking at your surroundings. A good photo could be waiting for you just around the corner.”
@anddicted says:
“When capturing pictures of a city I usually make it my priority to shoot in good natural light, usually my favourite time of the day is sunrise or right after sunset. What I think it’s really impactful in some of my photos is how I manage to capture very crowded scenes at times when they’re completely empty — so I suggest you wake up very early in the morning to get a really suggestive shot”
@brianthio says:
“The city skyline like the natural landscape is beautiful, dynamic and extremely enticing to capture on a photograph! Whether you’re photographing a historic skyline piercing the skies with spires and church bell towers, or a restless metropolis with soaring skyscrapers, here are some of my favourite tips to get the best out of your captures.
1. Time of Day and Lighting. The time of day you choose to shoot can impact greatly on the mood and dimension of your photo. I personally love photographing between sunset and twilight. Golden sunlight gives a photo more depth and natural warmth while city lights and traffic at the blue of twilight somehow shows the city’s spirit and heartbeat and is a thrill to capture.
2. Taking advantage of the wet weather. Every so often the weather fails to cooperate with you and although sunset skies are always the dream, this is not always possible on cloudy or rainy days. This, however, presents you with more interesting photo opportunities. Look for puddles that can create surreal reflections especially when it is darker. Water droplets on surfaces or objects can also create intriguing perspectives for your photo. Look out for colour to brighten your photos on grey days, such a crowd with umbrellas. There’s always an opportunity to take a great photo regardless of the weather!
3. Perspective. Every photographer wants the money shot, the shot that everyone takes and everyone is familiar with. I’m guilty of this myself, however, in addition to this I also strive to take a few shots offering a unique perspective of the city I am photographing. This could be photographing the skyline from an unusual vantage point or even being creative with your shot, for example photographing a famous landmark from a very low angle on the street. Think outside the box and you could quite possibly be setting the next Instagram trend!”
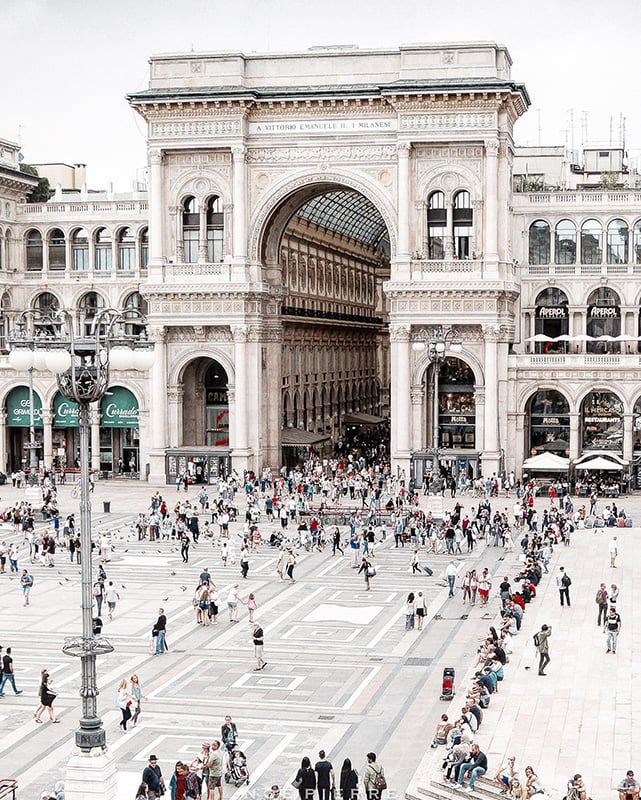
@noepierre says:
“When I take photos of cities I often try to capture the sights in the right light – the brighter the better! I always try to find a new angle for a shot from this site. But often I also go through small byroads and hope to find a very sweet corner or angle. Whenever you are in a (big) town, always carry your phone or camera with you that you can’t miss a brilliant light or opportunity for a lovely photo! Another tip is to always get as high as possible to have a perfect overview of the city!”
@framboisejam says:
“Besides the usual tips like looking for the perfect light, creating a great composition etc my tip would be to find a rich scenery. One of the things that I always look for in my photos are locations that are very rich in terms of textures, elements, buildings, people. I don’t like dull or boring situations. Whether a wall, or a street, or a view, I always make sure that it has a great amount of elements in it that make you say ‘wow’.”
@eskimo says:
“I love travelling around the world, but also exploring my neighbourhood and surrounding cities. I take a lot of photos on my way to the office. As my work starts early, the streets are empty. So my first tip would be to get up early if you want your pictures to look calm and not crowded with people. Another benefit from taking photos in the morning is the light. It is very soft and gives your pictures a special touch. When I want to take a picture of a certain spot in a city that I am travelling to, I like to check out the location a day before I shoot and take a few test pictures. I come back the next day and sometimes even one or two times more for the perfect light. As I only shoot on my phone, the light is important for my pictures.”

@tatsolbe says:
“My favourite spots for photography are picture-perfect European towns filled with old charm and amazing scenic beauty. Even if I’m in a small village I will still find plenty to photograph.
My tips …………
- Take a walk to enjoy the stunning buildings and the unique peat meadow landscape during different times of the day to see how the light/angle changes.
- Natural light is by far the most important element of good photography. I like to take my pictures early morning when the light is more diffused and can help me to create a magic atmosphere in the picture.
- Another great time for shooting is the “golden hour”, that is to say the hour after sunrise. This is when the sun provides enough natural soft light, which creates beautiful tones and colours.
- If you don’t want people in your shot then the early morning is better and the streets are cleaner too.
- Patterns, texture and reflections are very important. Contrasting colours, architecture and texture work well together. Light reflections in the building or even water feature can add a twist to the image.
- And here is another important advice! Remember that you don’t just take beautiful images, you have to create them.
All pictures were taken with Nikon CoolPix A camera and edited with Snapseed App.”
@swedishnomad says:
“Whenever I take pictures in cities, I try to go when the light is good, preferably in the morning or evening. I often stroll around with my camera ready, and whenever something catches my eye, I stop and look for different angles through the viewfinder. I think it’s easier to see a photo before you’ve taken it through the viewfinder and getting the right composition.
If there are people, I try to wait until they are either gone or until there isn’t someone in a bright jacket or colour that is disturbing the shot. The best tip is probably to always bring a camera and have it ready, no matter if it’s a phone, compact or a DSLR, then you’re certain to never miss that perfect shot.
Another good tip is to get inspired by others and then mix it with your own style.”
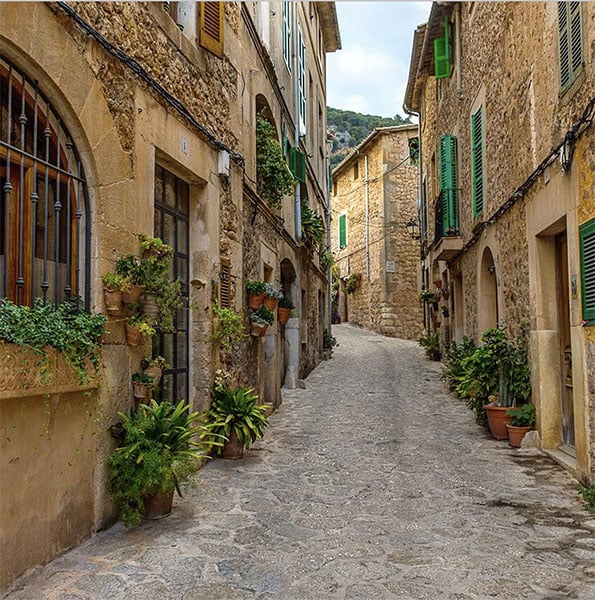

Travel Photography
In this next section we have some awesome tips more specific to travel photography.
@danflyingsolo says:
“When it comes to travel photography you have to resist the urge to rush in, get the shot and move on. The most beautiful aspect of travelling is being able to experience something different and unique, a good travel image should effortlessly capture that. Patience is the biggest factor holding people back from getting a killer shot.
Take the time to wander through the small streets first, soak up the atmosphere of that bustling market or scout out any wildlife in the area. Talk to the locals and work out what makes that place tick, then get your camera out. By getting the vibe for a place and in turn, how that makes you, the photographer feel, you can start capturing it from your own fresh perspective. I truly believe this is the difference between simply taking a photo or capturing a moment, it’s the latter that makes a travel image transport someone there.”
@Jakobnoc says:
“The first thing I look for in a travel destination is mainly the historic impact the location has on me. My feed is full of “postcard” photographs, therefore I have developed a style of my own. I love shooting sites from a low POV (point of view). It gives them a sense of depth, scale and a shine of different and interesting light, which destinations so well known to people definitely need.
The other POV I love of course is from a bird’s perspective which gives a great sense of scale and the size of a city. So whatever subject holds your interest, from Big Ben to Gorge of Verdon, make it special and make it your own. Always try to travel light, try to be prepared and be brave to find and try different POV’s.
And remember, if you like the result then don’t worry what others might think.”
@jordhammond says:
“When taking travel photos, my main concern is lighting. When on the road, it’s likely that many of the places you’re photographing have already been done many times before. To try and set your shots apart, my top tip would be to shoot during the golden hour! Not only is the light redder and softer, but it adds to images that often can’t be replicated with the use of filters. Furthermore, golden light is so much more dimensional: shadows are longer (and softer), and the image will be injected with dynamism totally different from photos taken in harsh light. Did I mention clouds can sometimes produce pretty impressive results?”
@kevinrawalsh says:
“1. Switch up your shots: There’s always the urge to get the “postcard” shot while visiting a popular destination, but be sure to put your own unique spin on it. By all means, get the “postcard” photo, but leave yourself some creativity to separate your photos from the millions of others taken the same way!
2. Use Live View for inspiration: As elementary as it may sound, if you are lacking inspiration or composition in a scene, try to put your camera on Live View mode and scan the area. It may sound silly, but this can help you visualize the final photo you may want to take.
3. Reflections: This is a common theme nowadays, but one of my favourite techniques to get unique angles is to use reflective surfaces to my advantage. Whether it’s a store window or even a small puddle, seek out these opportunities
4. Ask questions: Let’s face it, sometimes photographers can have large egos when it comes to their work. Take criticism, and use it to learn from your mistakes. I look back at some of my early photographs and am shocked that I even posted them. Thanks to seeking advice from peers, I’ve gradually learned from my mistakes and improved on them significantly!
5. Immerse yourself: When travelling and taking photos, many people rush to get to each destination’s “Instagram spot”, and nothing more while they’re there. Try to interact with locals and ask questions whenever you can about the location. I’ve found some amazing photo opportunities just by sparking up a conversation with someone who lives there!
6. Add a sense of scale: Adding a sense of scale gives depth to your image. If you’re in a beautiful garden, get close to the plants to compose your shots in a way that’s pleasing to the eye, compared to a quick snapshot of the entire scene.”
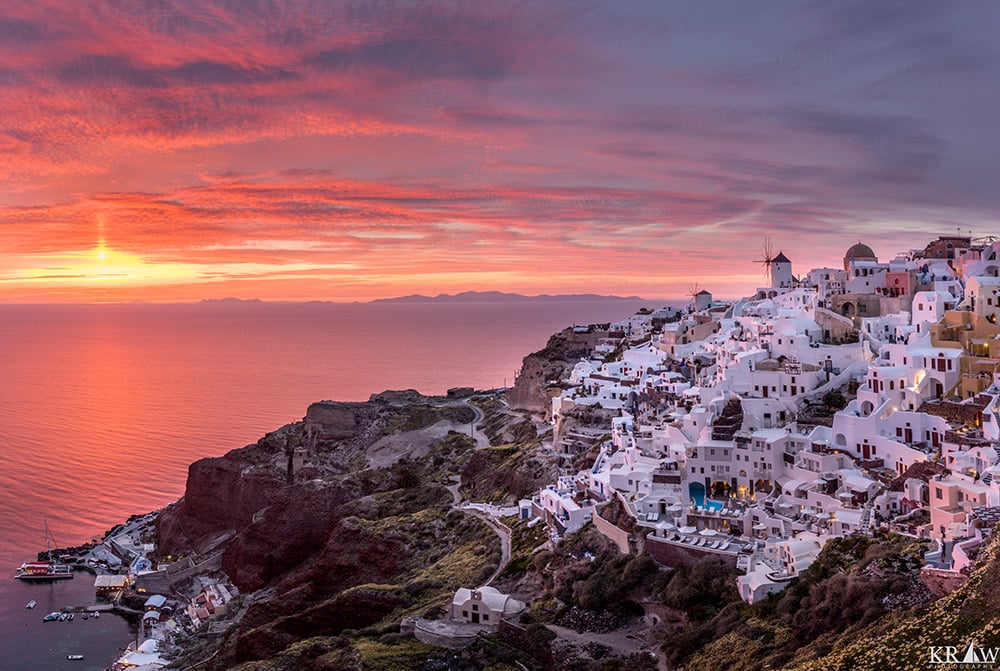
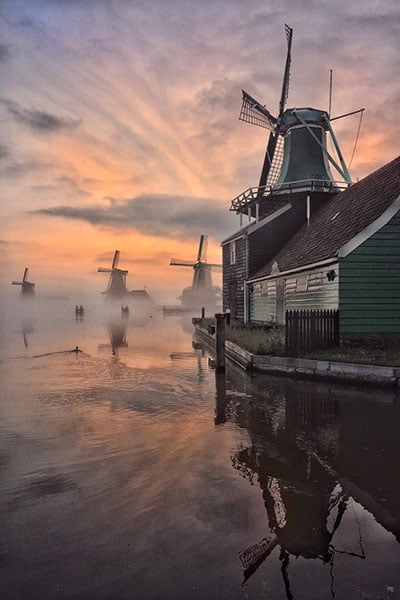
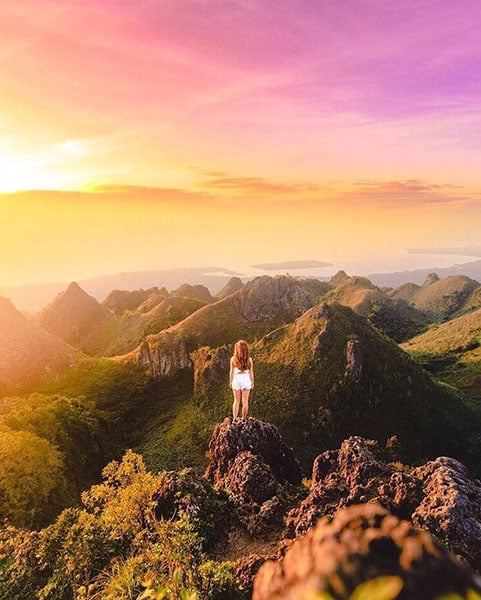
Landscape Photography
Our final section on travel photography tips is from some amazing landscape photographers.
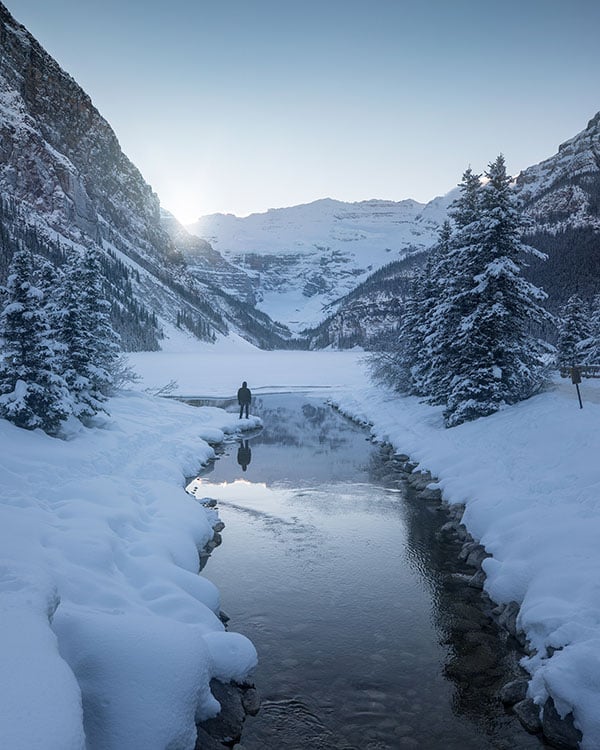
@argenel says:
“Including a human element can be an impactful way to improve your landscape photos. The presence of a human figure can provide the scene with a sense of scale, thereby making that nearby tree, waterfall, or mountain that much more impressive in the viewer’s eyes. It can also be used as a way to allow the viewers to see themselves as being part of the scene. This shot was taken in Lake Louise, Alberta, Canada. The lonely human figure is used to add to the already moody, cold imagery of a Canadian winter morning. The reflection of the man on the water seems to double this effect. “
@bengreenphotography says:
“Preparation is key for me.
I have to know what time the sun will be rising and from what angle, for this I use an app called The Photographers Ephemeris. If I’m shooting a coastal scene I’ll also want to check the tide times. If you fail to prepare then be prepared to fail.
I will clean down all my various filters, ensure my batteries are charged and have the appropriate clothing ready to put straight on. Knowing the address and parking arrangement also avoids wasting valuable time, it gets you that much more free time to search for a great composition and stops you missing that great sky which you can get at sunrise. “
@sentinelphotography says:
- “Get out shooting as much as you can, especially an hour before sunrise and sunset. Practice lots. With today’s cameras we have the advantage of basically unlimited shooting plus we can review each shot quickly after taken and make adjustments to the composition and other settings if needed.
- Use a wide angle lens – I usually use a 16-35mm Nikkor (if you shoot with a camera phone consider a wide angle lens attachment) and always try to first select a good foreground or anchor point for the eye that stands out or distinguishes itself from its surroundings.
- Shoot low and close to the foreground – depending on the size of it of course. For something small like leaves you may have to get just a few inches from it ( you can experiment with focus stacking when the lens is very close to the foreground). This will give more depth and dimension to the image. Try experimenting with this to see the difference a low shot close to the foreground makes compared to a higher shot.
- Try to think in layers – Foreground, Midground and Background and also lines that lead into those elements. If your shot has those elements and the right balanced light (preferably sunrise or sunset) you will usually be more satisfied with the resulting image. This can make the difference between a good shot or great shot.
- Take as many different shots as you can with different settings and compositions. I usually spend at least an hour per location (waterfall etc). This is very important for me especially if I have travelled quite a distance to that location.
- Usually, the simplest composition is the best, with no distracting elements to add clutter and distract – but this is not always easy.
- Lastly – take some time and enjoy the moment in nature.”
@heyguystudios says:
“Remain flexible and ready to adjust to any situation.
While you can plan your shots to the minute, you can never predict with complete certainty what will happen while you’re actually out in the field. Weather can change within the minutes, especially when you’re up in the mountains. Because of this, it’s important that you’re prepared to adjust your shooting to best fit the conditions you’re in. Maybe the storm clouds are continuously moving in, and you can no longer get that clear Milky Way shot, so instead you set up a time lapse to capture all of the movement to create a very dramatic scene. Or maybe you decide to move on to a different viewpoint you had scoped out before since the clouds weren’t lining up as you had hoped at sunset. This does not only apply to the photography aspect, but also to the clothing and other gear you bring along with you – a lightweight rain shell during the summer, a jacket and pair of gloves in the winter, a light in case you stay out too late – these are just a few things you can take to help you remain flexible and ready to adjust to any situation.”
Noticed a mistake? Let us know.


