As well as capturing pictures when you travel it’s also important that you edit your photographs using the best techniques. In this post you will find editing tips from a selection of awesome travel photographers on Instagram, where they provide pointers on how you can edit your photographs to get much better results. As well as reading their editing tips remember to check out and follow the contributors on Instagram to see lots more of their beautiful shots.
You may also like Top Tips from Awesome Travel Photographers which is on techniques for capturing photographs.
@Howfarfromhome says:
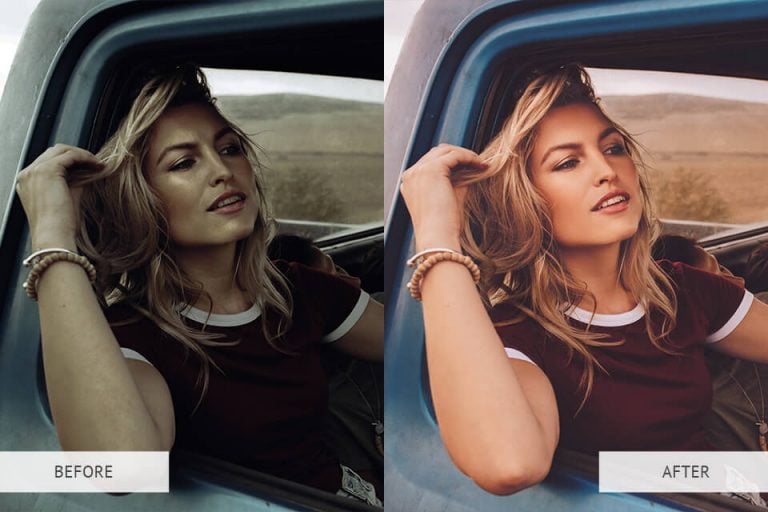
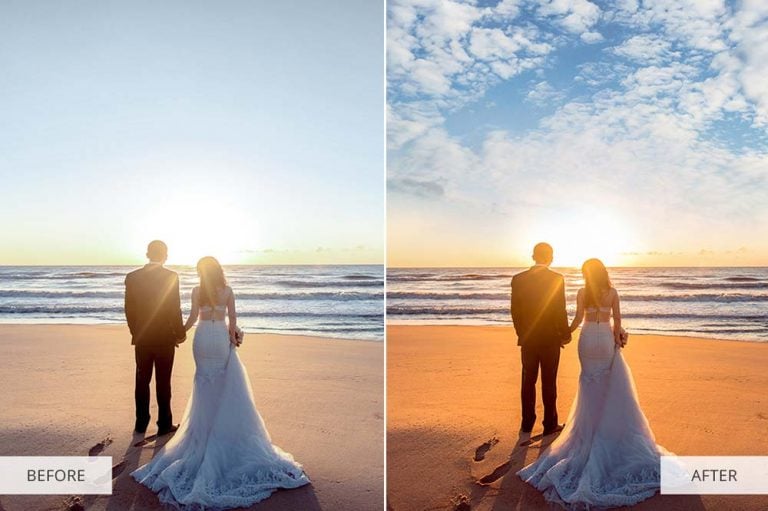
“Editing is something that, we believe, makes a good photo, great. It’s that special touch that will get people to stop and stare. Today it is getting harder and harder to actually stop people from scrolling over your pic (on Instagram) and further down their feed, so a unique look for a photo is vital. We see ourselves as artists, not “photojournalists”, so our ability to play with colour, exposure, and sometimes even composition post-photoshoot, gives our pictures that little something extra that will set them apart from unedited snaps.
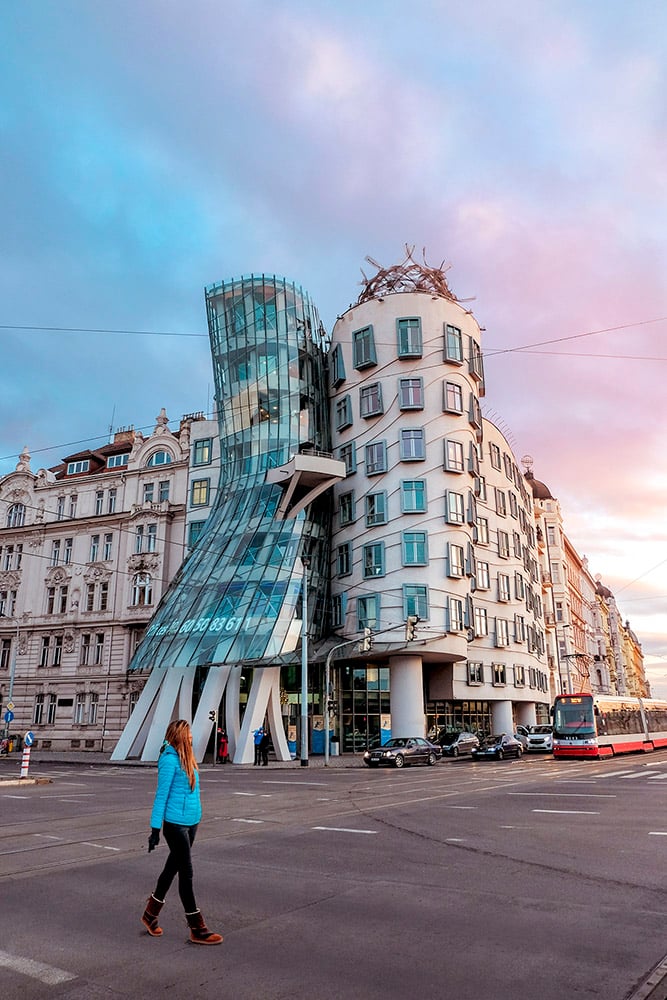
We sometimes like to take multiple exposures when shooting. We don’t do this every time, but it helps when the light isn’t perfect for photography. We then edit those shots separately and combine them into one image using Photoshop. An example of this was when we shot the “Dancing House” in Prague (seen below). We photographed the two subjects (Chanel & Building) in one shot, and then 5 minutes later we snapped a pic of the sky, then finally merged the two shots later in PS. We used masks (which is a fairly simple editing technique) and created our finished image (which we were super happy with).
We also have several presets that we have created over the years in Lightroom that we find sometimes make our editing run a lot smoother and quicker, so we highly recommend creating some!”
Follow @Howfarfromhome on Instagram
Visit their blog How Far From Home for travel inspiration.
@martinrak says:
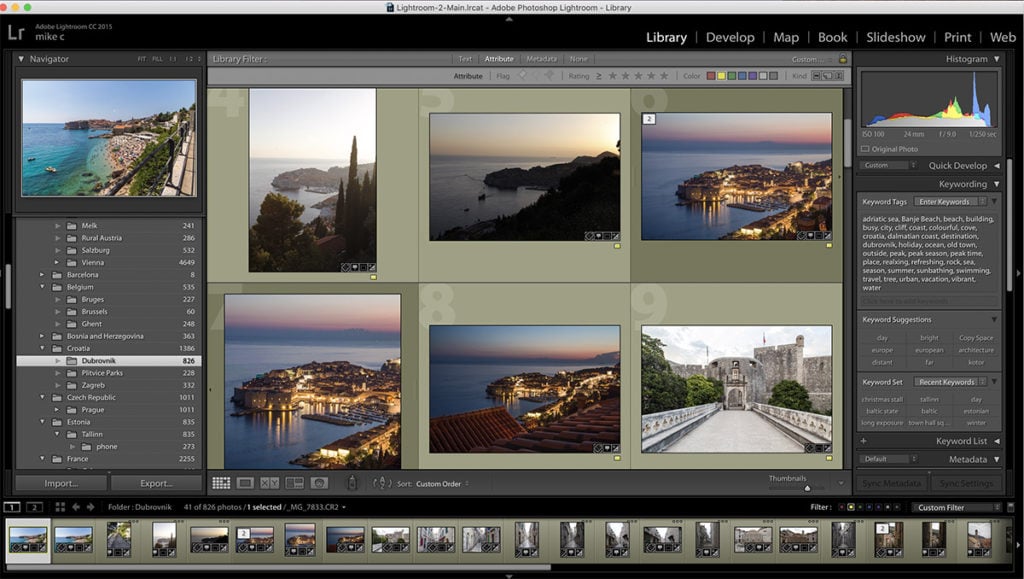
“I start processing all of my photographs in Lightroom. After importing the file I check if the image is in focus. In the ‘Basic’ tab I adjust the white balance (colour temperature and tint), adjust exposure if necessary, lift the shadows and pull down the highlights.
Then I try to tonal balance the image using graduated filters mostly for darkening the sky and radial filters for highlighting or subtracting different areas or subjects in the image. For me, the filters are one of the most powerful tools in Lightroom.
I then slightly add contrast using curves in the ‘Tone Curve’ tab.
Sometimes I also use the ‘Colour’ tab for specific colour corrections, eg. hue and saturation of the red colour.
I always check ‘Remove Chromatic Aberration’ in the ‘Lens Corrections’ tab.
When I am done in Lightroom I export the file to Photoshop where I do more tonal adjustments using the luminosity masks and curves. Eventually, I retouch the image using the healing brush and stamp tool.”
Follow Martin on Instagram and
Visit www.bohemianjourneys.com for photo tours
and www.martinrak.cz to see more of his photography.
@kevinrawalsh says:
“1. Organize – Organising is vital to editing for any Instagrammer! Using external hard drives helps speed up the editing process and allows you to be more efficient while working on your photos. I usually have a “completed photos” folder synced with my iTunes so that it goes directly to my phone, and from there I can easily post it to Instagram.
2. Cropping – When cropping your images, try to do it so it’s pleasing to the eye. Use leading lines to direct people into your image better.
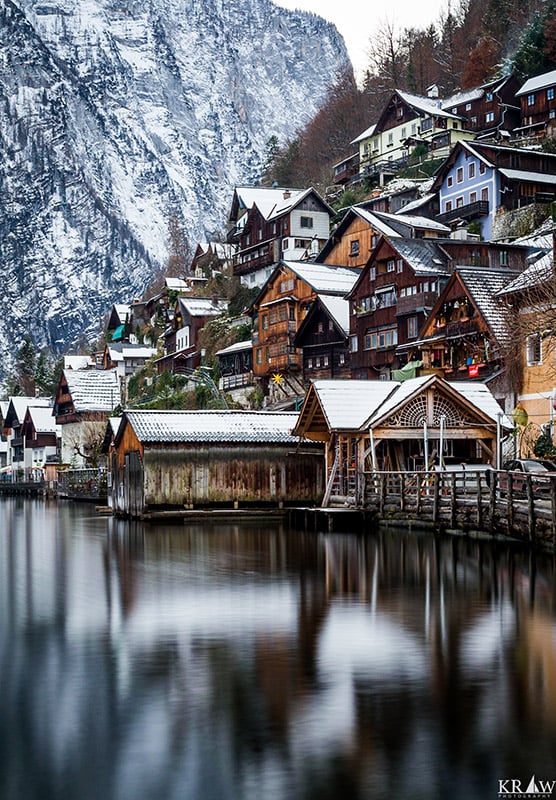
3. Colour – When I edit my photos, I try to remove objects that distract from the subject. For example, this photo of Hallstatt in Austria has a great “Winter Wonderland” vibe to it, but there was an obnoxious red car in the bottom right. Using the brush tool in Lightroom, I brushed over the car and reduced the saturation to what you see now.
4. Sliders in Lightroom – Using the HSL sliders (Hue, Saturation, and Luminance) in Lightroom help you fine-tune the colours in your edits. These sliders give you better control of the look and feel of your photos, and the colour tone you’re looking to achieve. This works well especially for those trying to keep a constant theme on their Instagram.
5. Graduated filters – Another great tool in Lightroom is the Graduated Filter. I use this usually when I want to “close” an image. This helps bring the focus to the subject of the photo, rather than any details on the top or bottom that aren’t as important. When using a graduated filter, I experiment with the highlights and exposure to achieve the look I want.”
Follow Kevin on Instagram
@harrysinclairphotography says:
“Before shooting I always consider the time of day that I would like to photograph a location. If I can make it, I always shoot at either sunrise or sunset as these are my favourite times of the day, as there’s a chance of oranges and pinks in the sky and seeing those colours really pop. Often shooting during these times may mean you have to get to a location and secure a spot a few hours beforehand, which I did with this shot from Montparnasse Tower as this viewing deck is a very popular spot for sunset in Paris. I also never leave a location until I’m happy with a shot.
After shooting I import my images into Adobe Lightroom, I check each image by zooming in on a 1:1 ratio, checking from corner to corner that the image is sharp. I then begin the editing process. I start by lens correcting my photo and removing ‘chromatic aberration’, followed by looking at the histogram to make sure it is correctly exposed. I usually up the contrast and clarity by a small amount, and 99% of the time I like to bring the shadows up. For this image I brought the highlights slider down to darken the sky.
A handy tool in Lightroom that I use often is the graduated filter tool, here I’ve used one to saturate the sky and one for the foreground to add a little more clarity at the bottom of the image. In Lightroom there is a dehaze slider which I could have used, but I think the haze adds character to this particular photo. I always play around with the HSL sliders until I am happy with the image. When sharpening I always sharpen to around 75 and up the detail to 35, which I apply this to most photos unless it’s from a drone.”
Follow Harry on Instagram

@Barnadrift says:
“As someone who posts travel photography, I think it’s important to share what locations really look like, with only slight edits to make the photographs stand out.
My workflow starts in Lightroom. I suggest using contrast to your advantage when it comes to travel photography. I generally bring down the highlights and blacks while raising the contrast, shadows, and whites. These methods can help to make the photograph “pop”. I always raise the vibrance and bring down the saturation, as I feel this provides the most visually pleasing colours. I use the tone curve to add a bit more contrast by creating an ‘S’ shape and I would suggest limiting the amount of clarity you use.
For the Hue, Saturation, and Luminance panel, I’ve found that skin tones look best when the orange saturation is slightly decreased and luminance is slightly raised. I would suggest decreasing the saturation and luminance of the blues because sometimes a bright blue sky can become overpowering. Everything else in this panel is photo dependent. Split toning is one of the best ways to add a consistent “look” to your photography. I generally add golden highlights and light blue shadows.
The last edit I make is to turn the sharpening panel down to ‘0’ and then I export the photo into Photoshop. I’ve found that sharpening photos in Photoshop gives a much better result than Lightroom. Photoshop is a great application to clean up any unwanted parts of a photo using the clone stamp or healing brush. One other great way to bring out some detail is to learn proper dodging and burning techniques in Photoshop.”
Follow @Barnadrift on Instagram
@danflyingsolo says:
“When it comes to editing photos it’s important to keep in mind what platform your photo will be published on. For example, on Instagram I aim to share more images in portrait orientation, have a stronger processed colour palate and have a subject area covering much of the image. On the flip side, when I edit for print or with landscape shots I might not lift the shadows or increase the colour vibrancy at all and I’ll also frame the image with more of a focus on one particular area. The reason for this is as a general rule on mobile viewed imagery, such as social media, you want to cover more of the screen and capture attention much quicker than say a storytelling piece over a couple of page spreads.
To make the editing process as easy as possible, try to think about this before you even start a shoot. If you know you will want/need images across various different platforms then shoot those multiple images in camera rather than relying on cropping down the line. If you are only planning to photograph for social or on mobile, then Lightroom CC mobile is a great app to have as you can shoot in raw and edit in phone allowing for a speedier and easier workflow from capture to sharing.
When it comes to trying to work with a particular brand or magazine I would then study their preferred style of images. All photographers have their own unique editing style which is so important to keep the photography world creative but one of the biggest editing lesson I learnt is to sometimes take the personal attachment out of the work. If you have a set of images you think would be perfect, or even just want to submit a general portfolio to one particular outlet, then understanding their image brief is important before the editing process. If all of their imagery is warm tones and true colours then submitting faded/washed out or heavily over saturated images isn’t as likely to land you that gig. Some publications also take raw images or ban certain types of post-production so the ultimate goal is to create as close to the perfect image in camera and then have minimal edits – this saves you time and also helps to improve your skills as a photographer.”
Follow @danflyingsolo on Instagram
Visit his blog Dan Flying Solo for travel inspiration
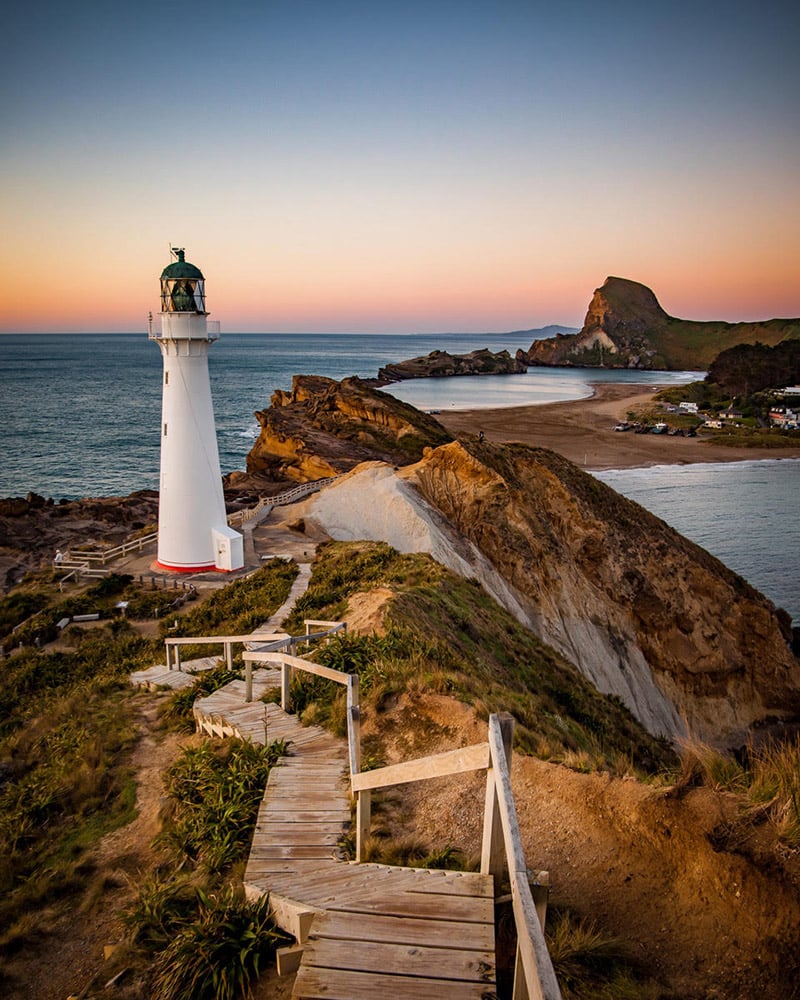
@erikhageman says:
“Always keep an eye on the weather forecast and try to be out shooting during the blue and/or the golden hour, which is by far the best time of the day to take photos. Next to that I would definitely recommend shooting in RAW, as it gives much more options when you start to edit your photos.
For most of my photos I use Adobe Lightroom. You can check out some tutorials if you’ve never used the program, it’s pretty easy. In Lightroom I change things such as the exposure, the colour temperature, the highlights and shadows. It depends on the shot what works best. If you’ve edited your photo, you can save your set up as a preset, and use it time and time again. That’s really useful when editing bigger sets of photos taken in the same kind of conditions. Lastly, I always sharpen my shots and use the mask as well. When holding the ALT key, you can see what will be sharpened within the mask.
Do you want to change some colour tones? Then use the colour sliders to change a specific colour tone. I often change the blue hues to get a bit more turquoise look from time to time. Feel free to ask for any advice, just send me a DM on Instagram!”
Follow @erikhageman on Instagram
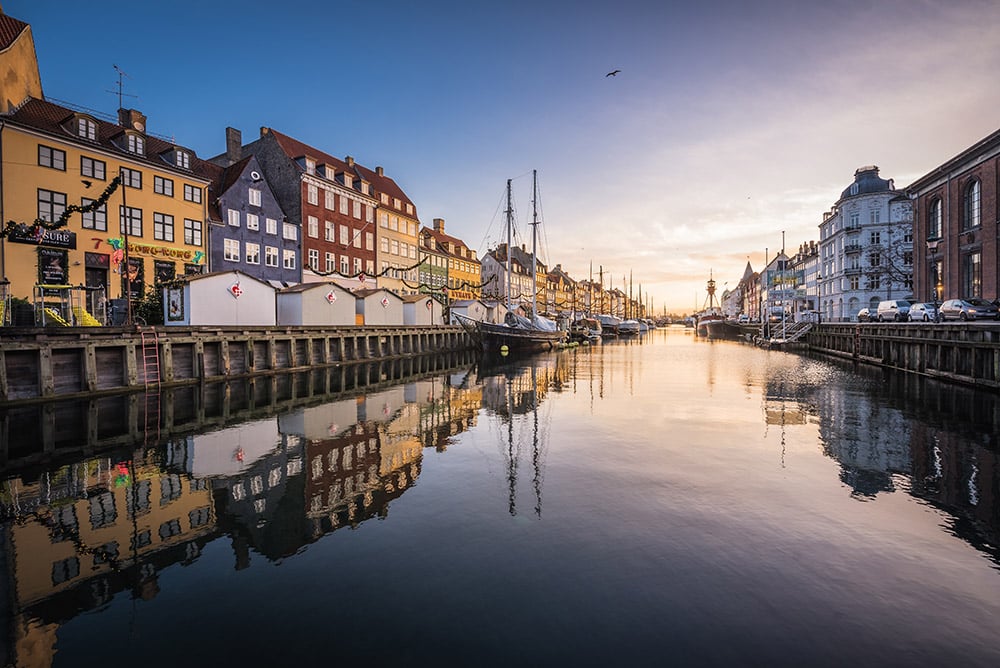
@rkrkrk says:
“Usually I use Lightroom to edit my photos. The most important thing I always pay attention to when editing is trying not to change the original colour of photos as much as possible. First, I’ll check the focus after importing my photos to the computer. Depending on the pictures, keeping the white part as white as much as possible using the white balance. Pulling down the highlights and pulling up the shadows. I always adjust the contrast from -100 with tone curve and keep the edited colour and tones until the last step.
I also use Photoshop if necessary. For example, removing acne and spots, retouching the face and modifying skin of portrait photos.
In the end, I’ll make the final adjustment of colour and composition with Lightroom Mobile on my iPhone before I then post it to Instagram.
However, whether I think the photo is good or not is more important than editing. If it’s a portrait, that the model is cool or not? Is there any cool culture thing in the background story of the photo? Etc.
I want to take astonishing photographs. Photos that people will say “WTF” when they see these dope photos. This is my motivation for photography.”
Follow @rkrkrk on Instagram
Visit his website rkrkrk.tokyo for more beautiful photography
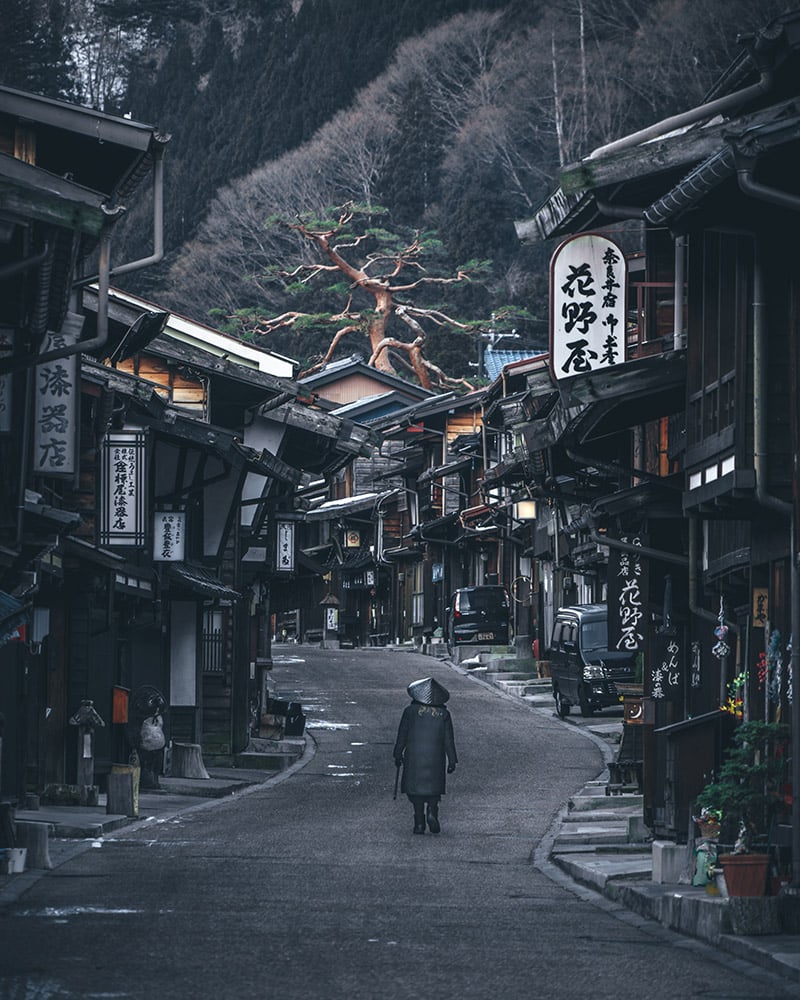
Summary
I hope that by reading this post you’ve got some great ideas on how you can better edit your photographs. You’ll be able to find lots of Lightroom and Photoshop tutorials on Youtube and if you haven’t got Lightroom yet, then you can read more and purchase on Amazon.


