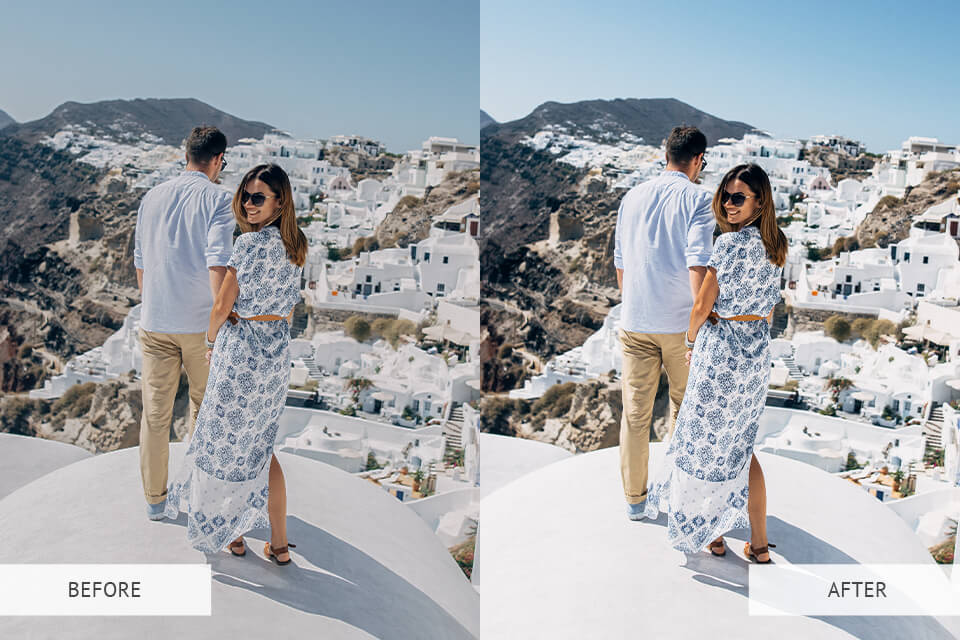
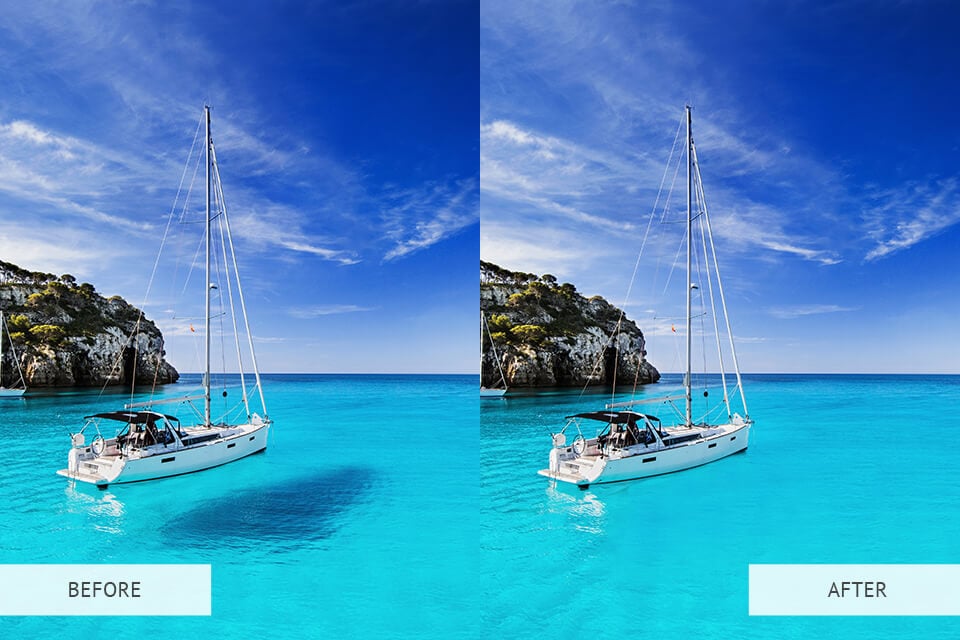
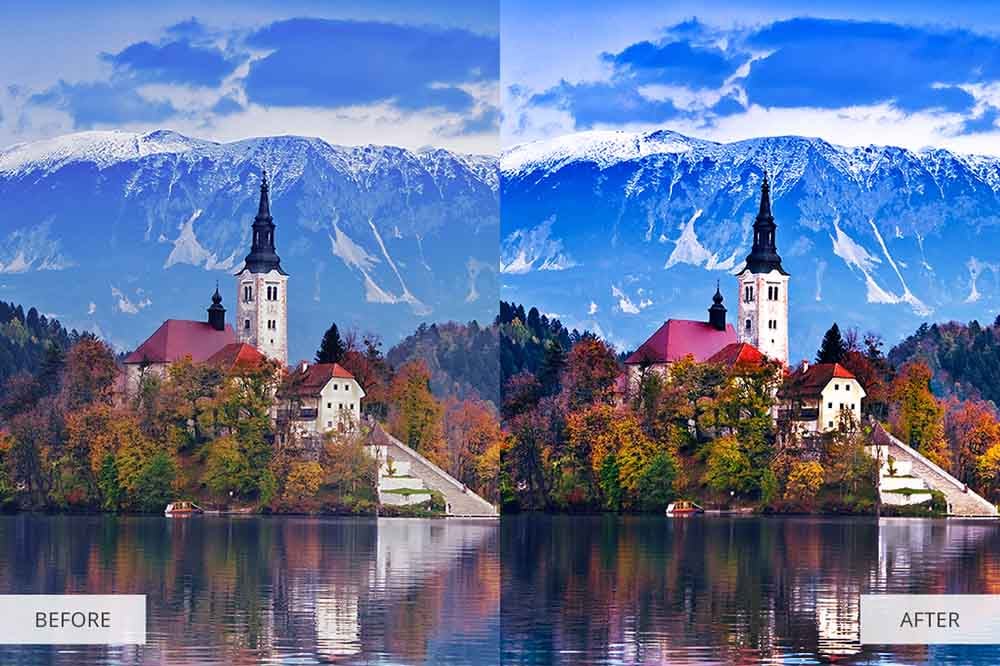
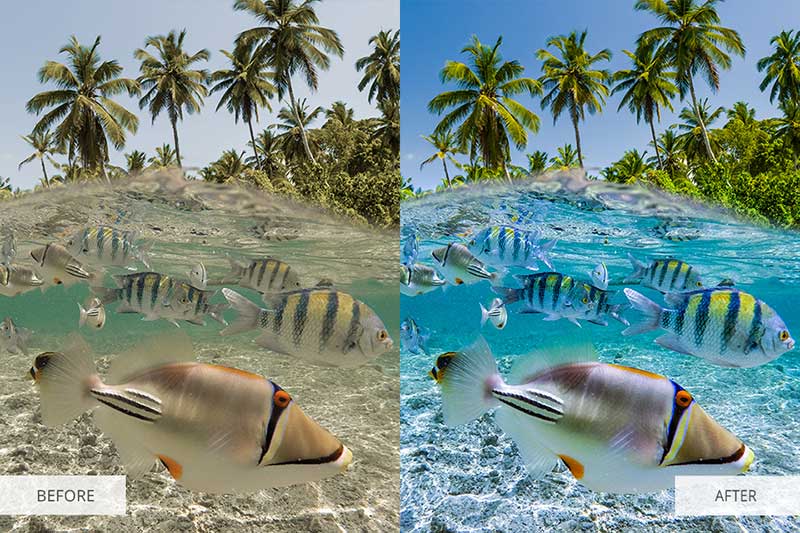
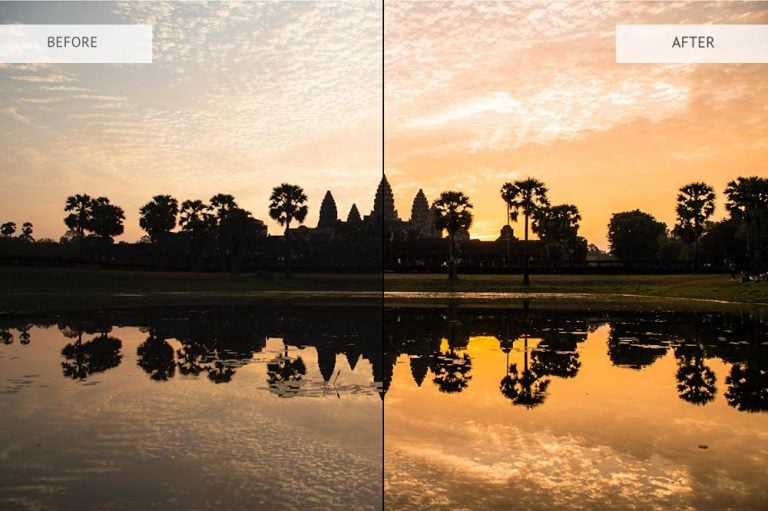
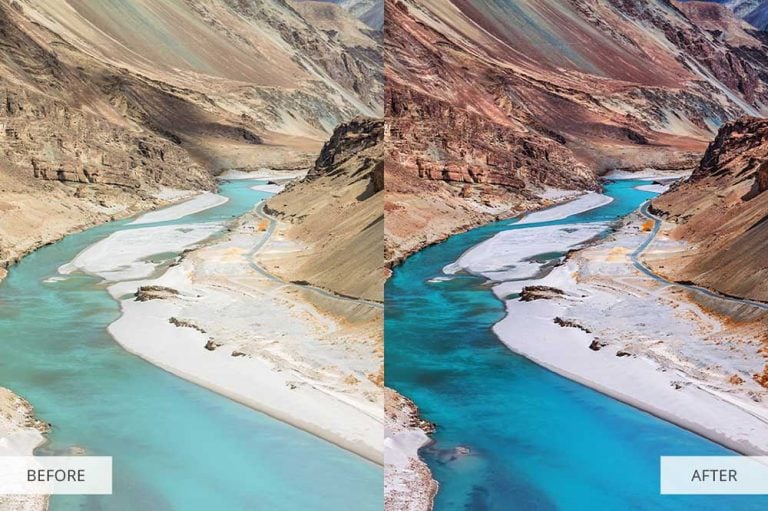
Editing using Lightroom or Photoshop are commons ways to improve your travel photographs. However to get the best results it can take practice, as well as learning some of the best techniques to use. If you want to find out how to edit travel photos fast and easily, read this article, which suggests 2 simple methods.
- Technique 1. This is quite simple and suitable for beginner designers. You can use Photoshop overlays and actions. By applying them, you can get a bright and professional travel photo in a couple of clicks.
- Technique 2. With this you can edit travel photos in Photoshop using different tools and filters. In this way, you can control the process yourself, and the result will depend only on you.
Article provided through our partner FixThePhoto and contains affiliate links.
Technique 1 – Editing Travel Photos Using Photoshop Overlays and Actions
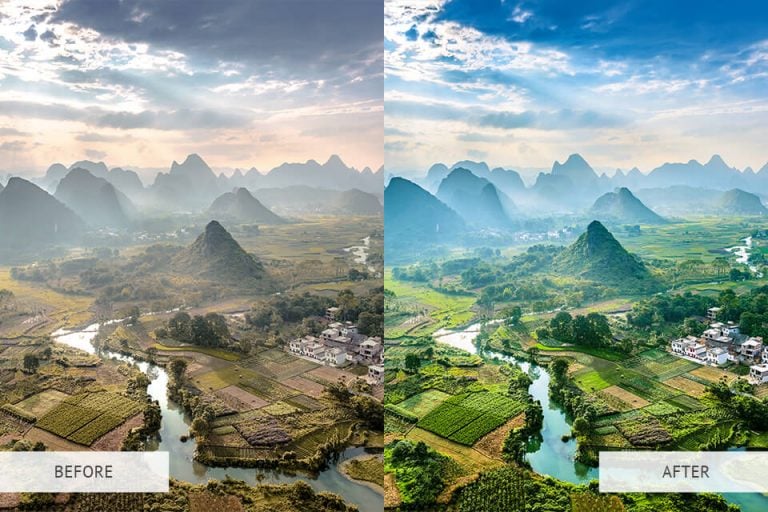
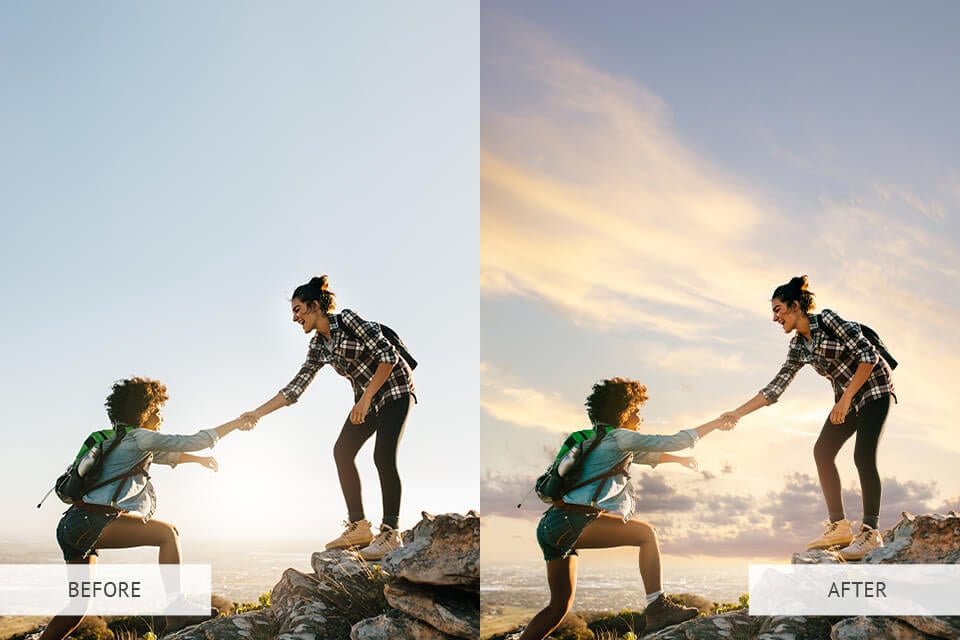
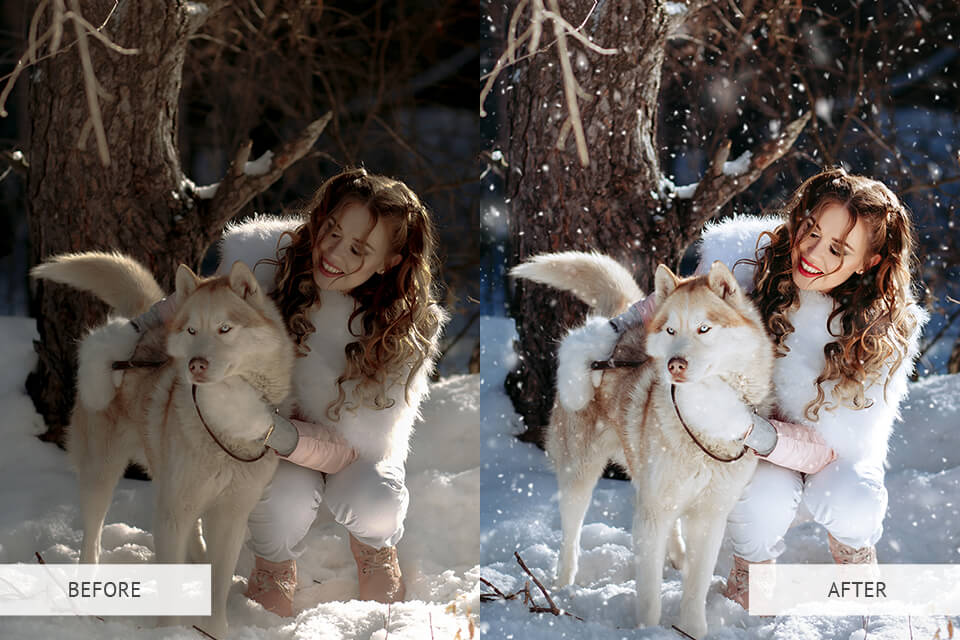
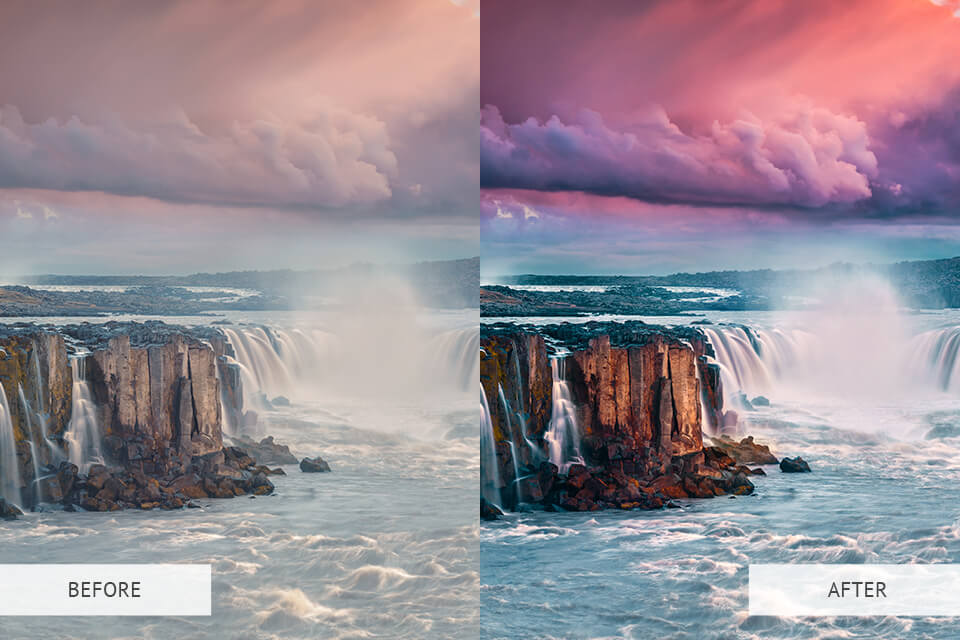
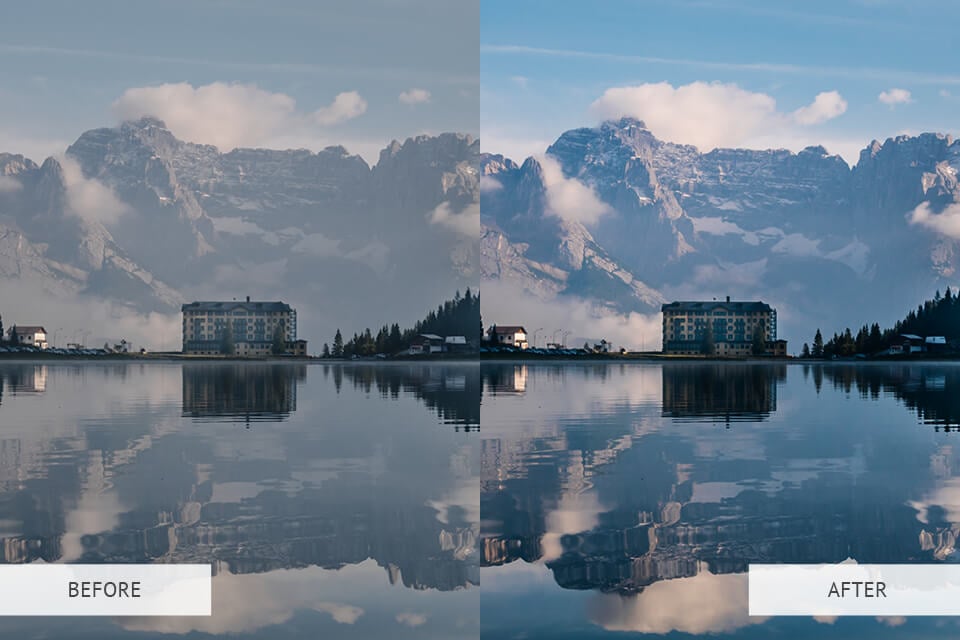
With Photoshop overlays and actions, you can edit travel photos fast and easily. Overlays allow you to add snowflakes, sunbeams, clouds or even bright dots of light. Actions will add brightness and make your image lighter and more contrasted.
Overlays and actions can be used for enhancing nature and cityscape photography. You can apply them to photos in JPEG and RAW formats, which makes them compatible with Adobe Photoshop CS3, CS4, CS5, CS6 and CC.
Follow these steps to install and use Photoshop overlays
- Open an image that you want to enhance by applying an overlay
- Open an overlay by selecting File> Open
- Change the size of the selected overlay to match your main image by choosing Image> Image Size
- Copy and paste the overlay into the image by choosing Select> All, then go to Edit> Copy
- Switch to your main photo and go to Edit> Paste
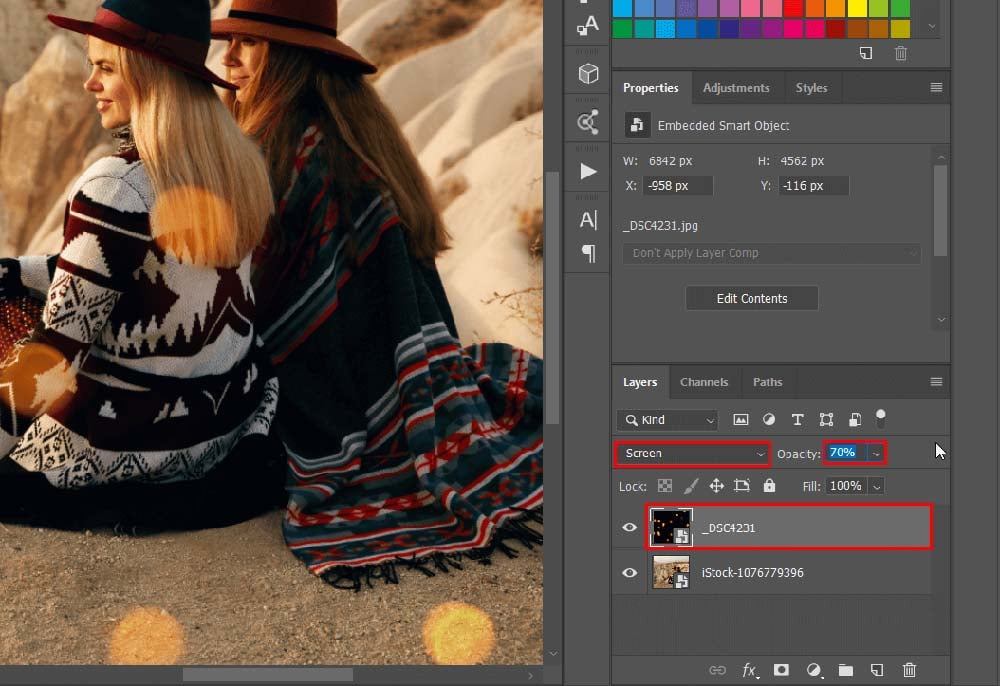
- Change the Layer mode to the Screen mode
- Adjust the opacity of the layer for further enhancement of your image
- Use an eraser or mask and a soft brush to clear up parts of the photo so that the overlay blends in with your origional image
- Merge layers
Downloadable overlays:
Here are some overlays you might want to use to enhance your photographs.
1. Sky Boundless Collection Photoshop Overlays
By applying the overlays from this collection, you can add warmth, a thunderstorm, fluffy clouds or the setting sun as an enhancement to your photos. There are 347 overlays in this pack, allowing you to add a blue sky with 3D white clouds, a blue cloudless spring or summer sky, grey rain clouds on a dark sky, and much more. You can choose them depending on the style of your photo and the mood you want to convey.
The collection includes 4 sets of overlays for high-resolution pictures. They currently come with a 35% discount and costs just $115 (Price and discount subject to change).
2. Snowy Day Photoshop Overlays
This collection includes 70 unique actions and lets you add natural snowflakes to your images for stunning results. They will bring the atmosphere of a winter holiday and real frosty scene. If you have images of forests, mountains, fields and trees, your landscapes will sparkle with new colours and a unique look.
These overlays can be applied to any travel pictures such as nature portrait photos, pictures of snowy woods, urban or rural winter landscapes.
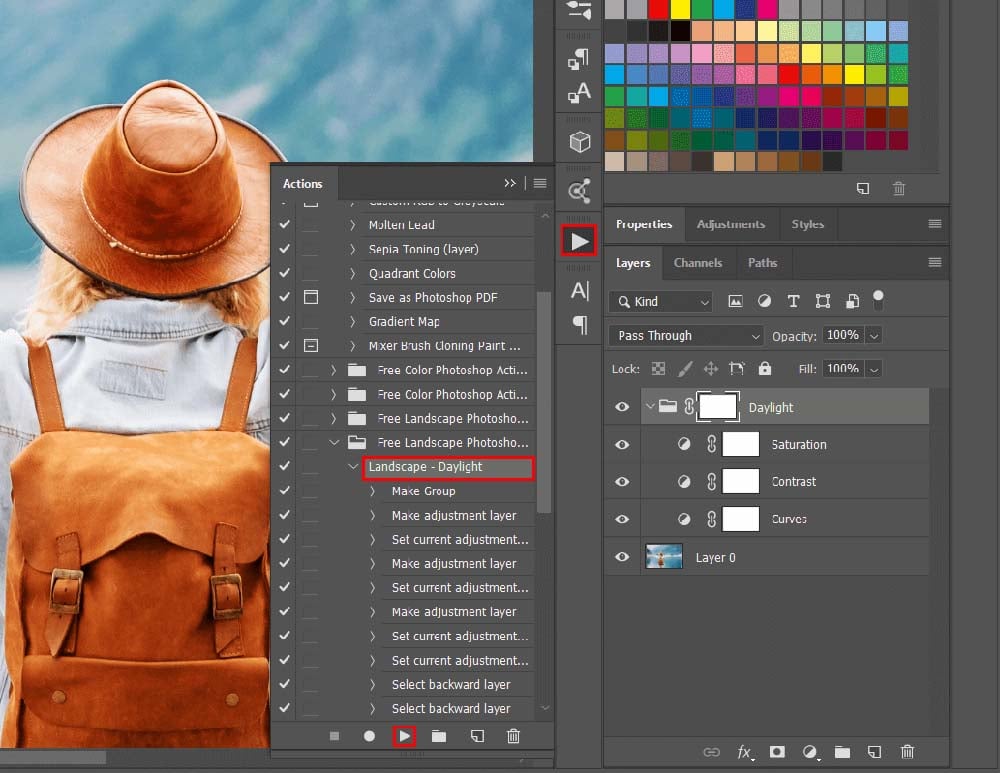
Follow these steps to install Photoshop actions:
- Open the “Actions” window by going to Window tab> Actions
- In the Actions tab, install the .ATN files by clicking on the four-bar button (top right) and selecting “Load Actions…”
- Find the actions you want to use and click “Open”. This will help you keep all downloaded activities on one list
Downloadable Photoshop Actions
Here are some Photoshop Actions that you might want to use to enhance your photographs.
1. Free Instagram Collection Photoshop Actions
This collection includes 6 actions, which are perfect for travel photo editing. They enhance shadows and light to pictures, enhance contrast and give your photos a vintage style. These actions will let you convey the atmosphere of warmth and highlight all the bright elements in your images.
You can adjust the parameters of this collection manually so that they suit your style. All the actions here are customizable.
2. Colorful Landscape Photoshop Actions
This collection includes 45 actions that you can customize and add wonderful colour to your images. Various foundations, filters, actions, brushes and finishing touches have been designed for different uses. With the help of these actions, you will improve the sky, water, ground and other elements in your photographs.
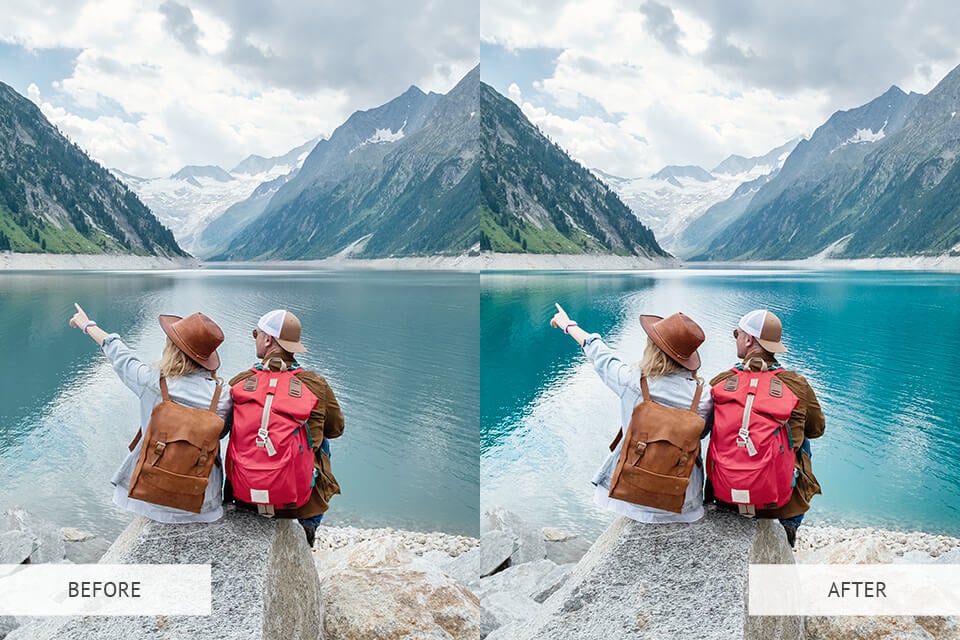
This collection adds brightness and drama to pictures. It’s great for adding contrast to get a darker, sharper look or, on the contrary, make your images lighter and more vibrant.
Technique 2 – Editing Travel Photos Using Photoshop Photo Editor
Before you learn how to edit travel photos using Photoshop, make sure you have it installed on your computer. You can also get a trial to try before you buy. Get Photoshop here.
Step 1. Use Curves
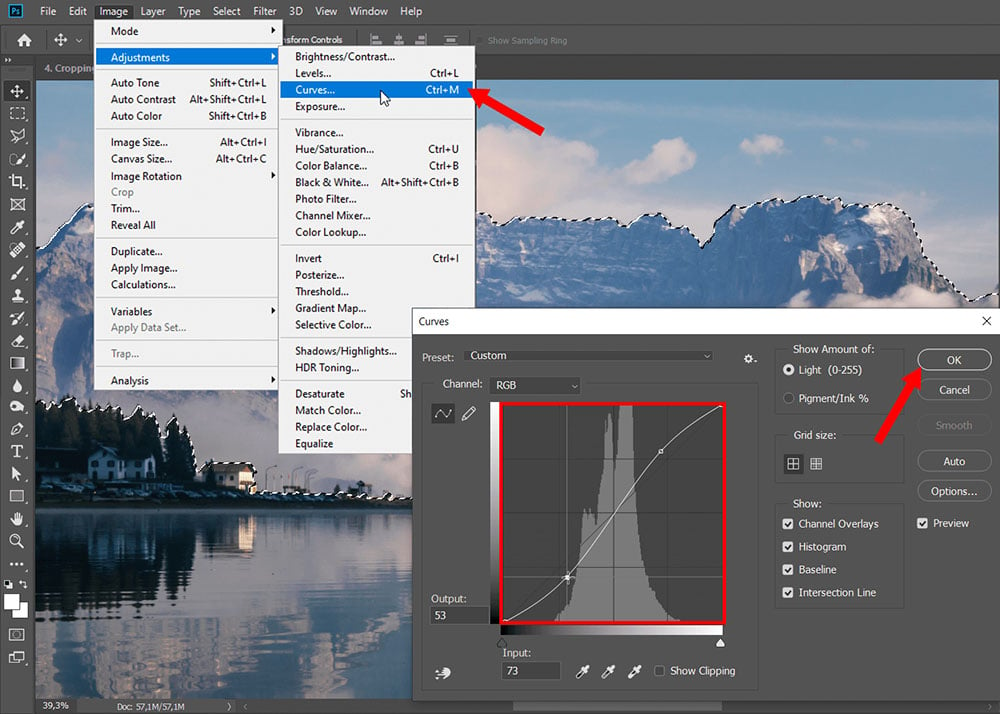
Find the Adjustment tab> Curves in the top menu, under “Image”. Select “Custom” in the pop-up window (where it says preset), switch the channel to RGB. With the cursor, click on the line and drag up on the graph to adjust the bright, dark and tints of the image. In RGB mode, you can adjust all colours simultaneously.
If you want to make an image warmer, change the curves from RGB to red. Depending on the result, you can change to green and blue to customise the tones for each individual colour palette. For example, it might help you to make a photo warmer without turning some parts of it red. In this case, use a Selection area to adjust only a part of it.
Step 2. Use Selection Tools
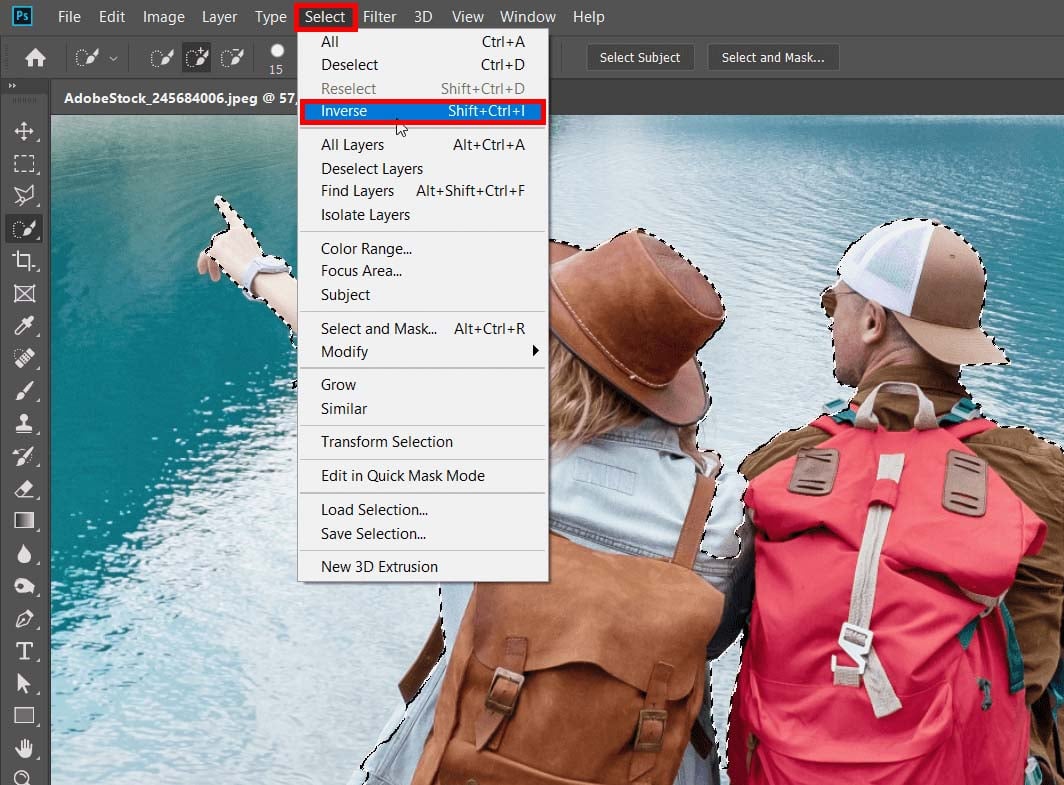
If you don’t need to add an effect to an entire photo, use the selection tool. This helps to highlight a specific area and there are several shapes to help you make a selection: such as rectangle, round, etc.
If you need to select a large area of an image, for example, a part of the sky, use the standard Shift key. Then, you can easily switch to other parts of the object. In the “Select” menu, scroll down to “Reverse”. This way, you will automatically select the remaining parts.
Step 3. Work with Contrast and Brightness
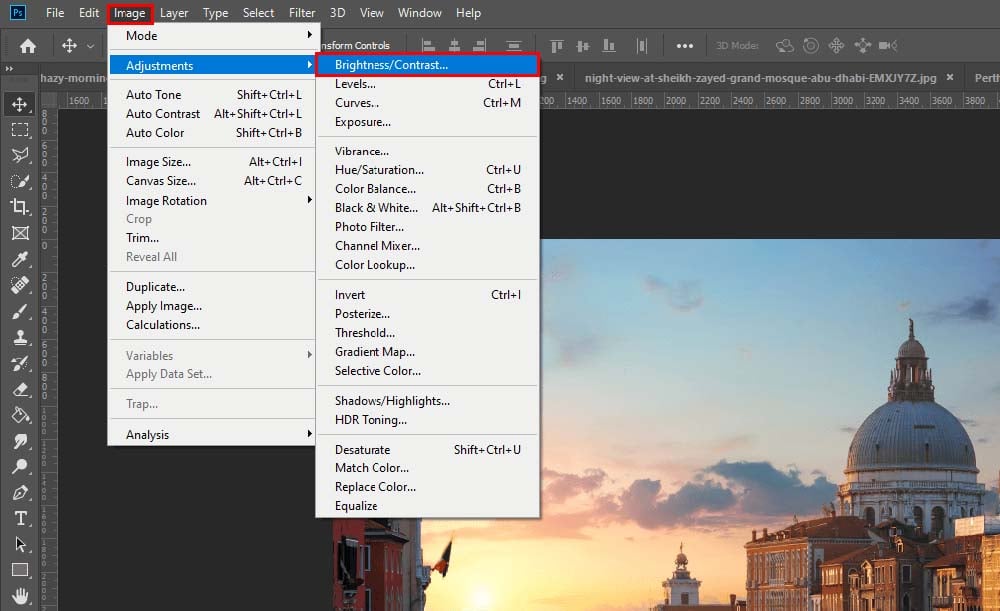
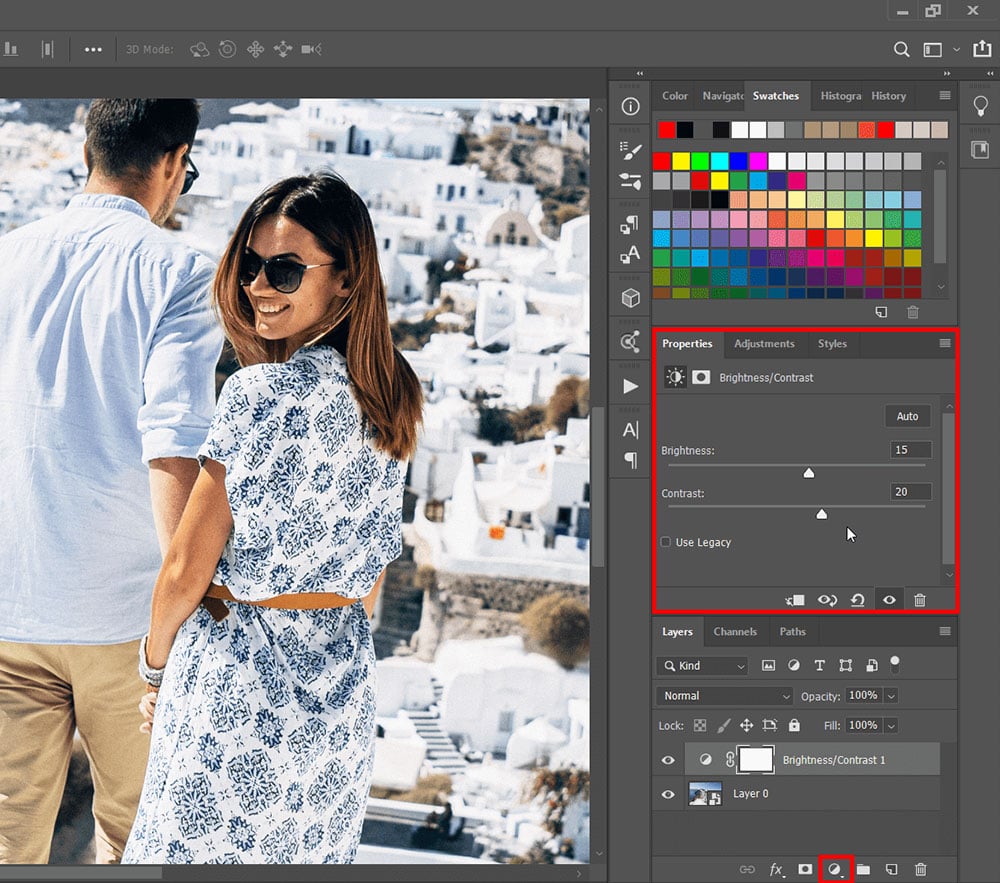
In the “Image” menu, click “Adjustments” then choose “Brightness/Contrast”. Using this tool, adjust the tonal range of your image by adding highlights or shadows.
The more contrast, the clearer the landscape, but don’t overdo it, as high-contrast pictures might look unnatural.
Step 4. Use Cropping
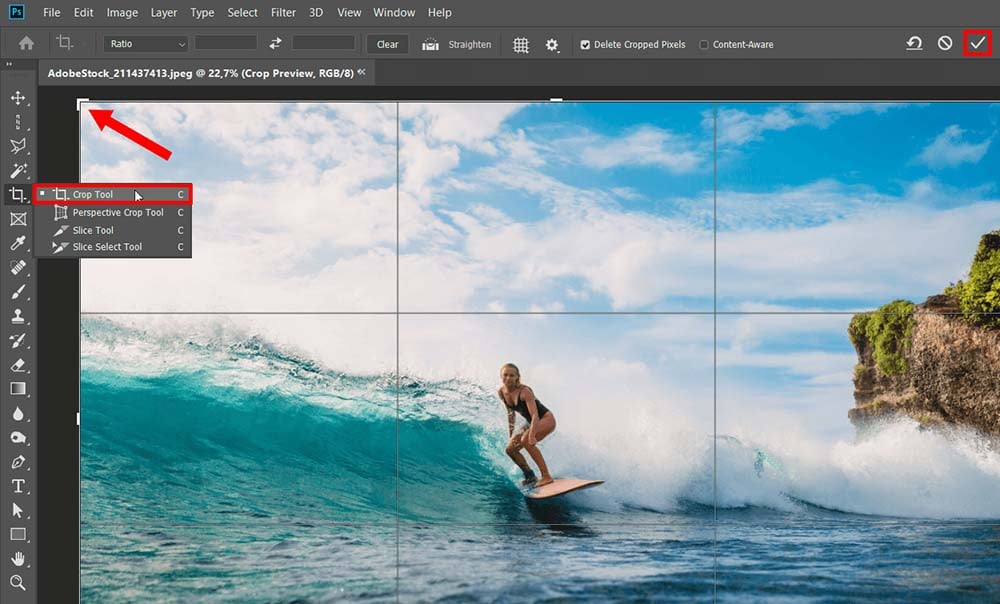
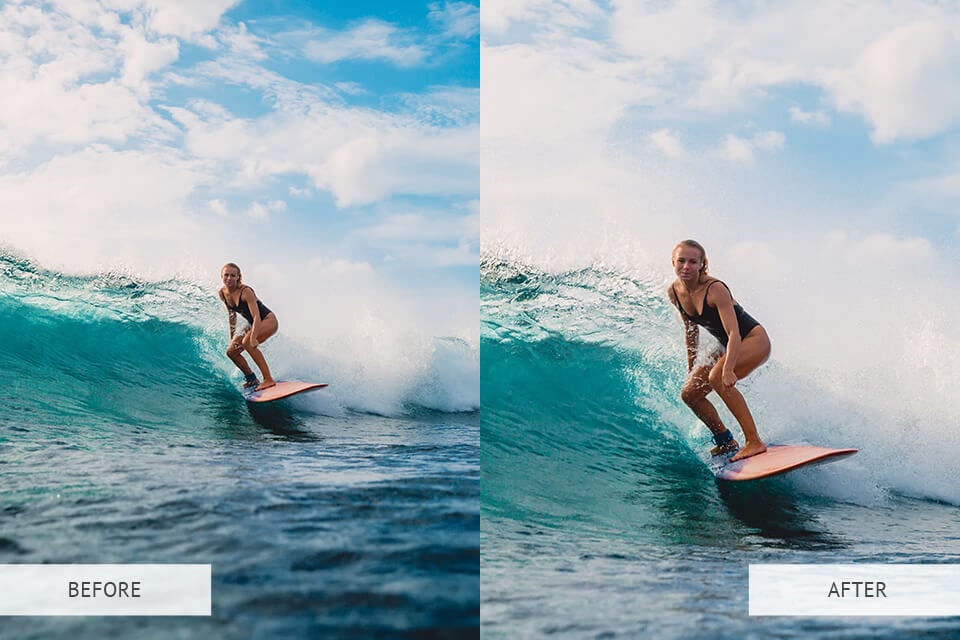
Cropping is useful to highlight parts of an image, remove parts of the picture that you don’t want, as well as to adjust the viewport. You will find this option in the Tools menu on the left. If you don’t see this menu then you can enable it using Window>Tools. Consider creating a copy of your image before cropping it.
To crop, select a crop tool and then crop the image. You can also enter the exact dimensions and aspect ratio if you wish.
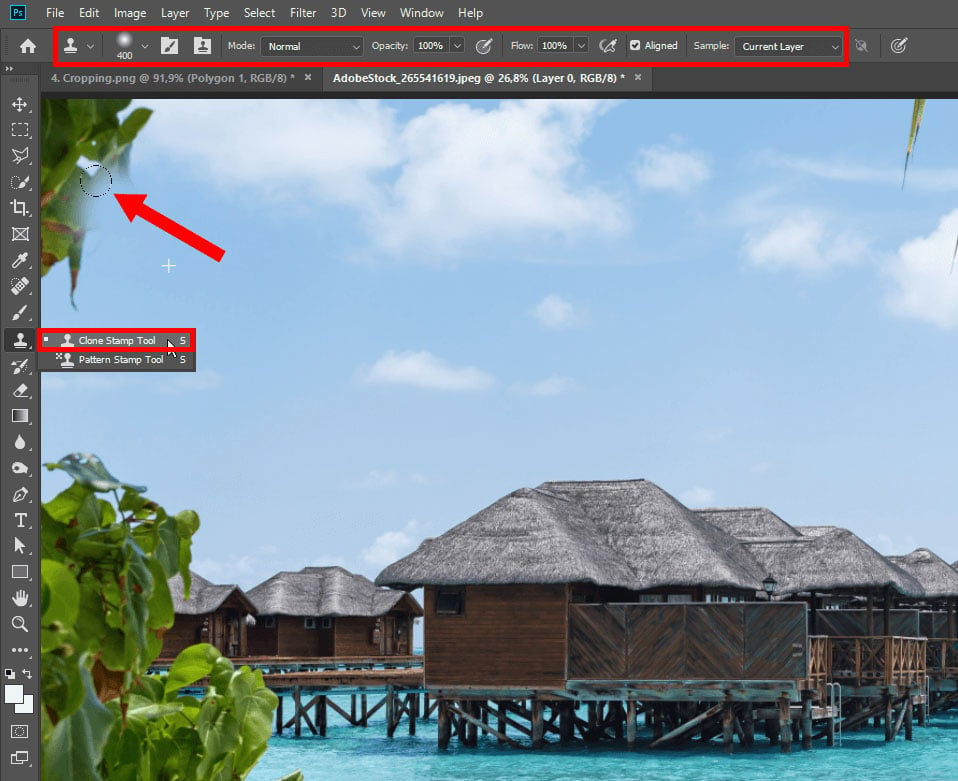
Step 5. Use Cloning and Spot Healing
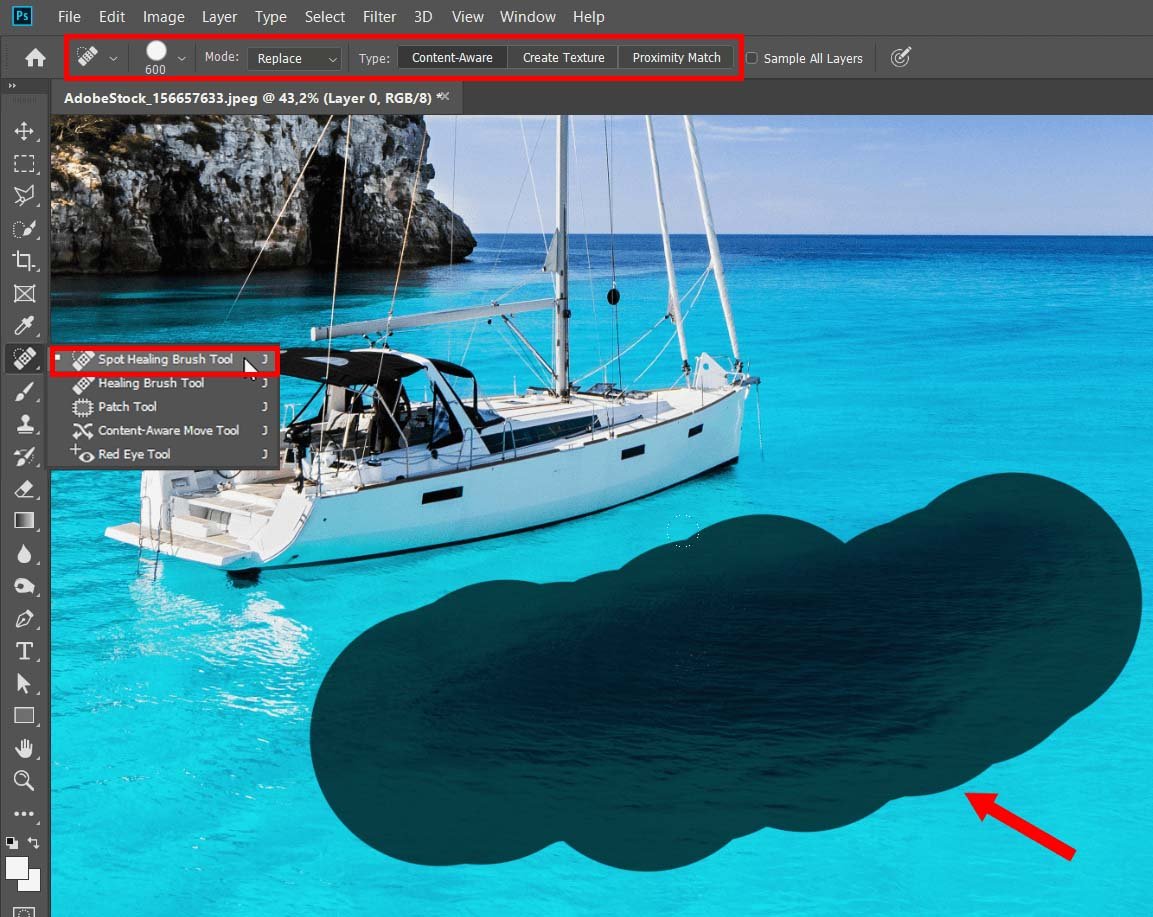
These techniques are the best way to remove unwanted elements when you edit travel photos. The end result could be a much cleaner image.
The Spot Healing Brush fixes a problematic area and the Clone provides more hands-on and precise adjustments. You can select a small set of pixels and then copy and move them to another location.
To clone use Alt and then the Clone tool. With this, you can remove people from the beach or tourists near an attraction, as well as remove other unwanted features or elements.
Step 6. Apply Dodge and Burn
The Dodge and Burn tools will help you brighten or darken a part of an image. You can find them in the Tools menu on the left. They allow you to work with large parts of a photo or just tiny areas.
Summary
Now you know how to edit travel photos by using cloning, cropping, the Dodge and Burn tools in Photoshop, as well as how to apply overlays or use Photoshop Actions. If you don’t want to spend time doing this but need professional and realistic results, you can also use professional photo editing services as another option.
Noticed a mistake? Let us know.


