An ND filter allows you to achieve much slower shutter speeds than might otherwise be possible. They are positioned in front of your camera lens and block out some of the light reaching the sensor. This results in you needing a much longer exposure time to capture your picture. As a result you can add an extra creative element when taking days shots and this might make your images stand out such as on Instagram.
Here are some of the types of images you can capture using an ND filter:
Effects That You Can Get from ND Filters
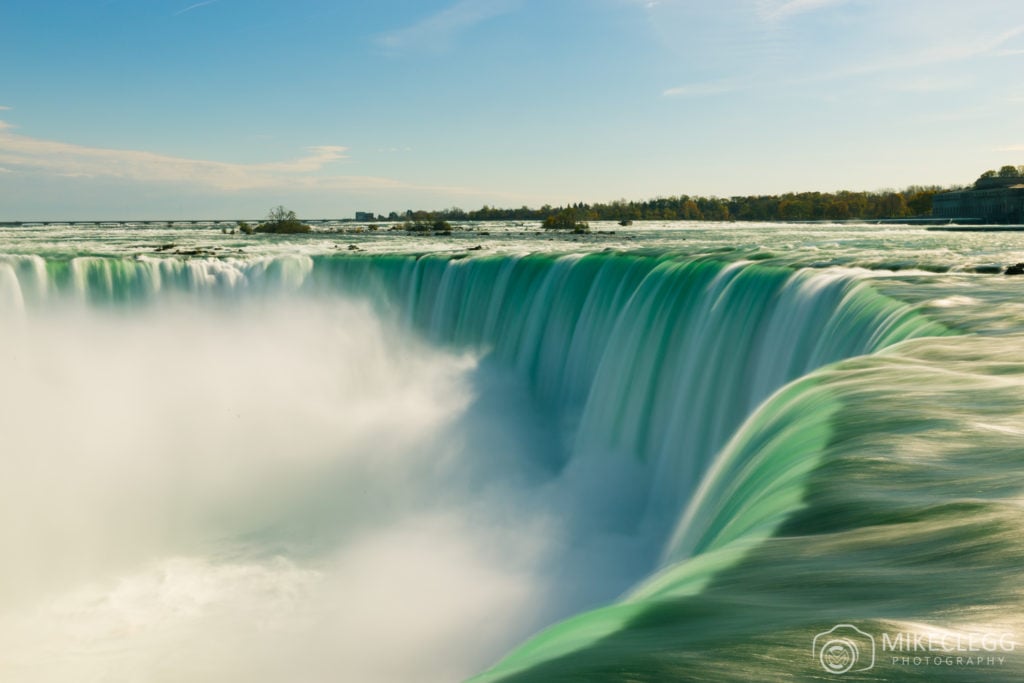
Smooth water
Using an ND filter you can often achieve long exposures of water during the day. This can create an effect of the water being silky smooth and is great for waterfalls, lakes, rivers and other types of movement.
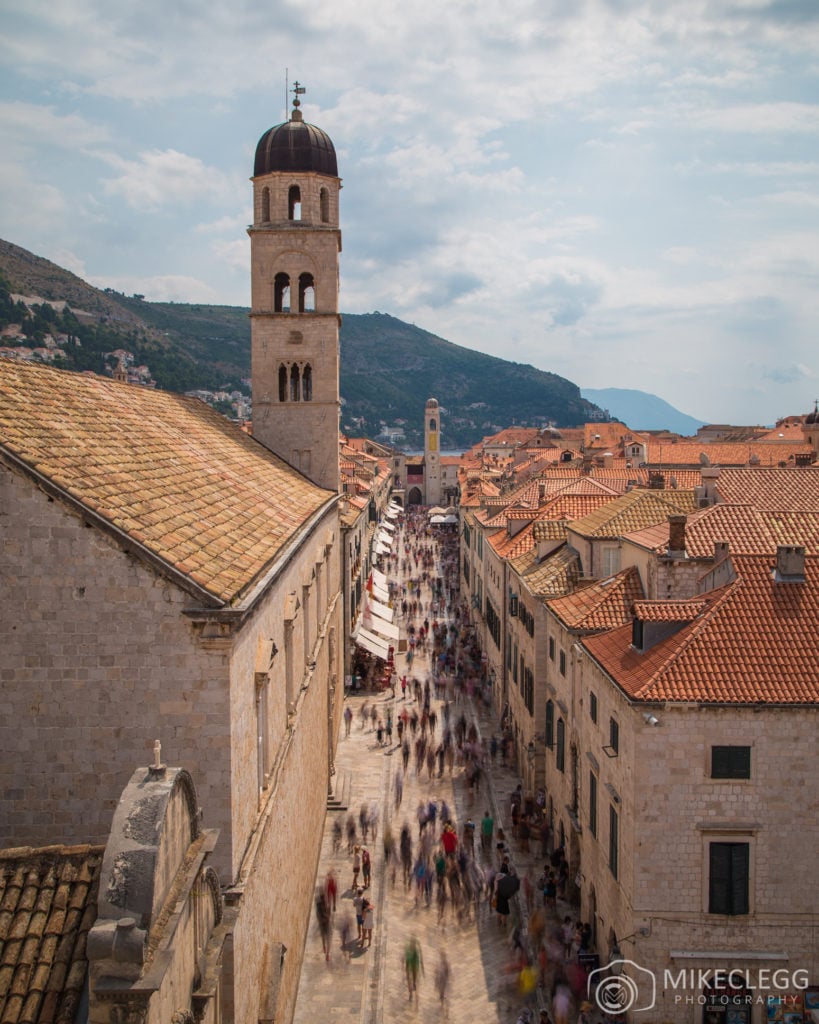
Blurred motion
By using an ND filter you can add motion to pictures of everyday life. Such as shopping centres, streets and public transport hubs. This will make the people in the shot appear slightly blurred.
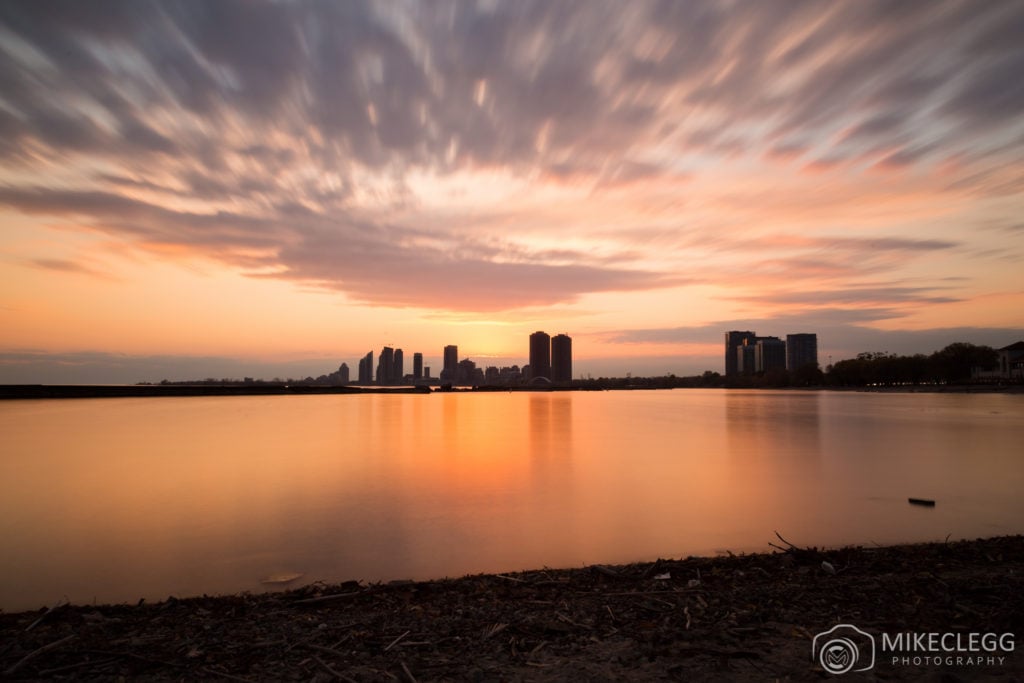
Wispy clouds
Wispy clouds can make an image seem mystical and magical and ND filters allow you to do this. Combine this with water and you’ll have an incredible image to show off to your friends, or even sell through stock agencies or for prints.
The travel photography ideas above are just a few of the things that can be done using ND filters.
By taking pictures of common subjects and using a Neutral Density filter, you can differentiate your photos from other peoples and make them stand out. This might be taking pictures of a building or landmark when there are interesting clouds and wind, or a subject with the motion of people. You’ll find using these filters makes a subject look that much more interesting.
ND Filter Options
 |
I often use a 10 stop B&W B+W 77mm ND Neutral Density 3.0 |
Using ND Filters
A few things to be aware of when shooting using an ND filter.
- When viewing your scene through the viewfinder, or live view, the image will appear dark and massively underexposed.
- Because the scene will appear so dark, your camera’s autofocus may struggle, therefore it’s a good idea to pre-focus before you put the filter on, or use the live view and zoom in to try and focus manually.
- When using an ND filter you will need to take a long exposure. To do this you could use aperture priority (AV/A) and just set the aperture. You will also need to use a tripod to get a sharp shot.
- If there is really low light, you may need to expose using bulb mode for longer than 30 seconds.